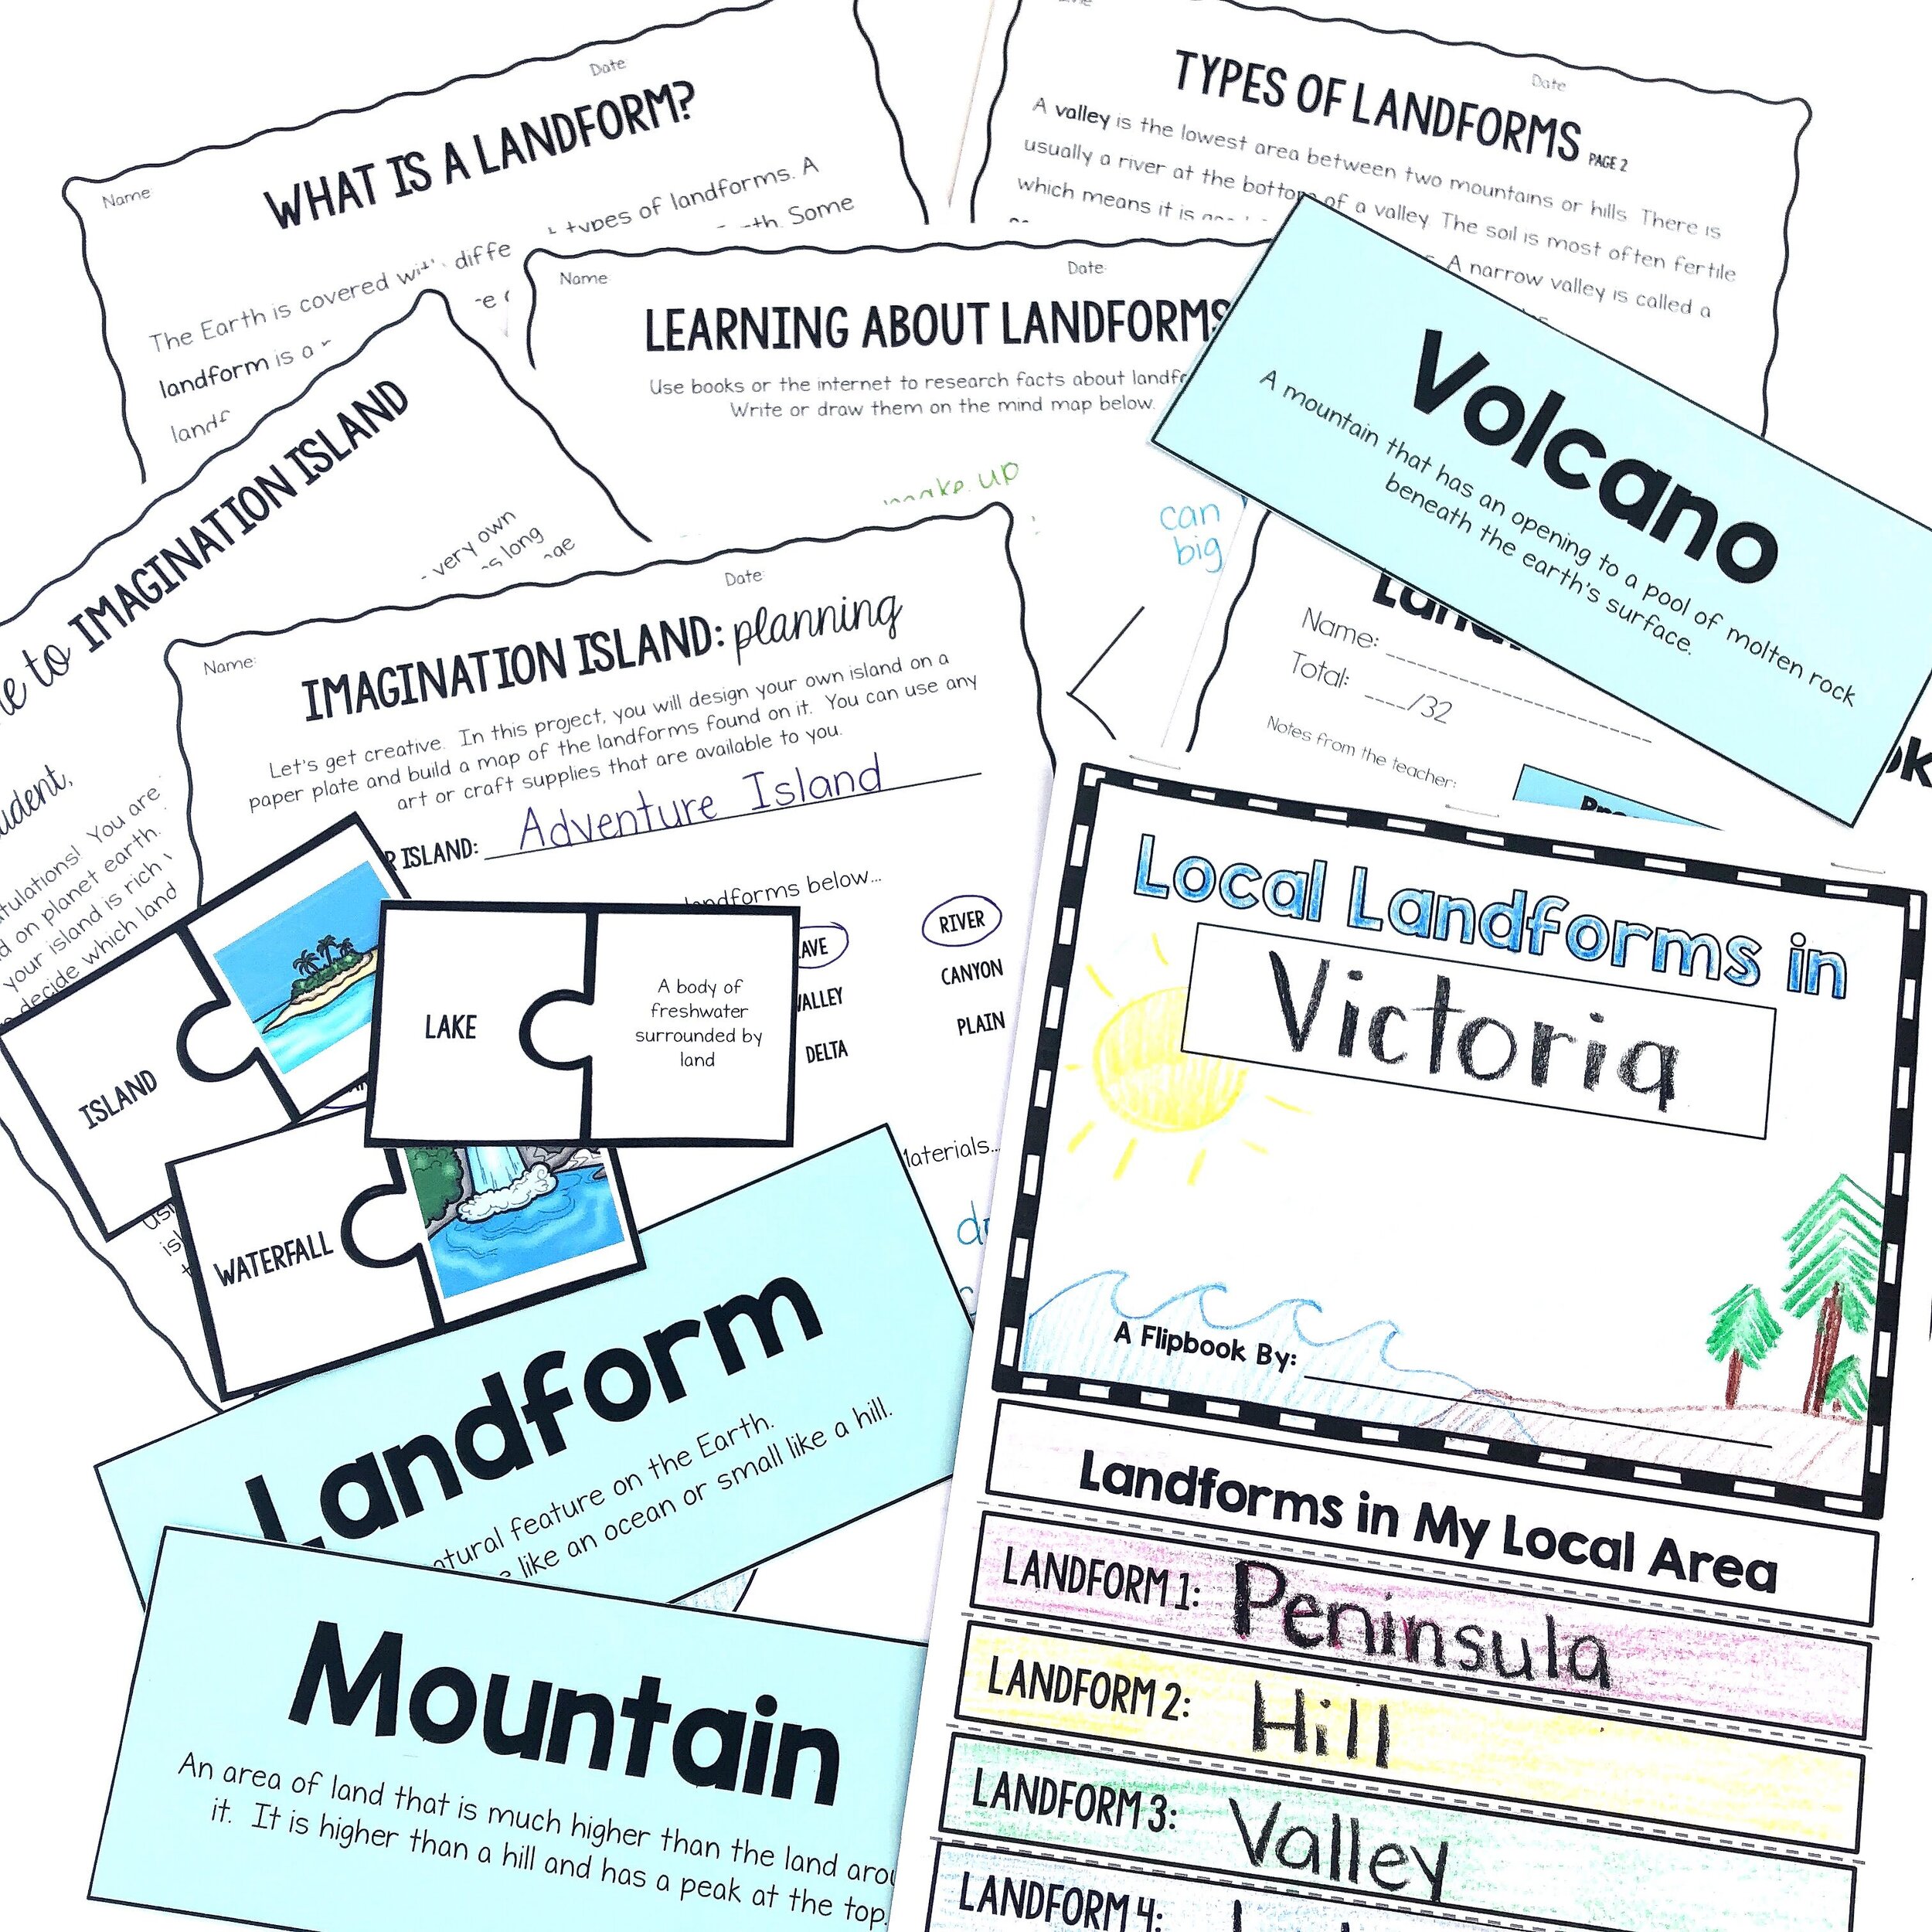


One thing I love to teach in 3rd Grade is Narrative Writing. Third Grade is the time when students can really engage with creative writing, the writing process and narrative writing. I especially love to teach students about finding ideas. So often our students have ideas locked inside their minds and they need the proper key in order to unlock all these great ideas. One of my favorite ways to unlock their great ideas is by using their favorite books and novels! It’s so funny how kids can go from completely stuck to full of ideas in the blink of an eye and this writing lesson totally helps with the question, “I don’t know what to write about!”
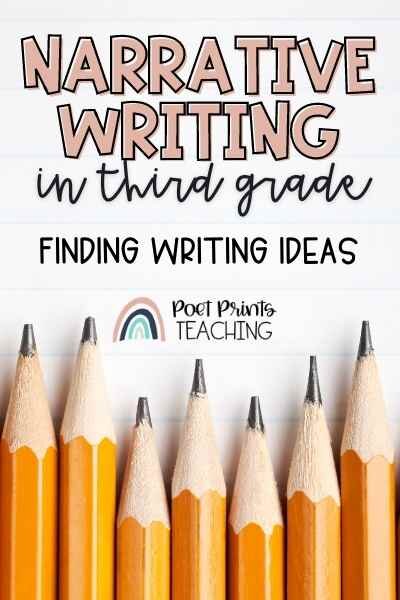
Text: Narrative Writing in Third Grade, Finding Writing Ideas
Image: Text is displayed over sharpened pencils.
Where Can Ideas Come From?

Image: “Ralph Tells A Story” by Abby Hanlon is displayed on a student desk.
So let’s talk about these ‘keys’ for a minute. As I said before, students often have ideas locked inside their minds and they need the proper key in order to unlock these great ideas. Where can Ideas come from? Kids are often stuck and need help finding ideas. I love using books to inspire ideas. I especially love the picture book “Ralph Tells a Story” for this.
Ralph is a boy who really struggles to find an idea of what to write about. Over the course of the story, Ralph discovers that there are stories all around him! He could write about an inchworm in his backyard, the class goldfish, the markers in his desk….the stories are endless! My reluctant writers love this book because it’s funny and gives solutions for how to unlock their ideas.
There are some other amazing books about finding ideas for writing..
“What Do You Do with an Idea” by Kobi Yamada
“Idea Jar” by Adam Lehrhaupt
“Any Questions” by Marie-Louise Gay
Do you know of any other amazing books about ideas for writing? Send me a message, I’d love to add them to my list!
Use Books Students Love to Find Ideas
When teaching my students about narrative writing my absolute favorite thing to do is have students use books they already love to find ideas. I want to teach my students to draw on the books they are reading to inspire a new story during personal writing time. I like to tell my students that “Authors are inspired by what other authors have written”. So I want to teach my students to be inspired by the books around them.
So the first step that I take while teaching this lesson is to brainstorm. We brainstorm stories we already know and love. Then we think of new adventures and ideas for these characters.
Scaredy Squirrel - Let’s write a new adventure where Scaredy heads into space!
The Magic Tree House - Jack and Annie visit our classroom!
Who Would Win Books - We could write Butterfly vs. Bumblebee or Raccoon vs. Chihuahua
Once students start thinking about books they are already reading, it gets easier for them to think of new ideas for the characters or book style!
Model How to Create a New Story
Don’t forget to verbally model your through the process while you brainstorm. Students need to see how the writing process works. Creative writing first starts with creative thinking. Narrative writing begins with an internal dialogue with yourself. So don’t forget to model each step of the writing process during the writing lesson. This helps to prepare them for when they brainstorm their own story.
Wow! We sure love Scaredy Squirrel! He’s so funny and he gets into so many silly adventures. I wonder what else he could possibly get into? Hmmm. We’ve seen him be terrified to head to the beach. I wonder how he’d feel about going to space! What kind of things would he be scared of? How would he plan to head into zero gravity? What would he bring with him?
Write the Story
After brainstorming ideas, I model how to create a new story. Then students will plan their story and then begin to write. After writing, I always give my students time to edit and then write their good copy. Sometimes I even let my students type their good copies on the computer.
In my Book Inspiration Writing Lesson package, I have a planning page, writing pages, and a checklist to help with their editing. There is even a digital template included in this package so students can type their good copies into a well-laid-out template.

Spend less time planning!
Looking for a FAST way to plan this writing lesson? In just a few clicks you can grab all of the pieces you need: a lesson plan, planning pages, rough and good copy student sheets, and assessment! Just print… that’s it.
Share The New Story
One thing that I’ve learned over my years of teaching is that it’s important to give students a chance to share their work. This gives them a sense of ownership of their work and it also instills pride for their hard work.
I like to mix up the way my students share their work. Sometimes I’ll create a class library of these new books. Students can read each other’s stories! (As a bonus, this may also give them new ideas for their next piece of narrative writing.)
Other times I’ll host an Author’s Chair, where students have a special place to share excerpts from their stories with their classmates. I’ve even had my students publish their stories digitally on a secured classroom blog so parents can read the stories at home. Parents love to check out their children’s creative writing.
As you can probably tell, I love teaching the writing process to my 3rd Grade students. There is something special about teaching them about creative writing and narrative writing. Do you have any fun ways to teach the writing process to your students? Do you have any “go-to” third grade writing lessons?