Genius Hour Ideas: Class Management With Quick Check-Ins

You’ve started Genius Hour! Your students are excited, their passions are being ignited, and each lesson begins with a round of applause. (Well, that last one may be an exaggeration.) But things are off to a great start. Now it’s time for students to dig in to their independent research. But how do you keep them on track? And how do you keep the Genius Hour independent work time as productive as possible?

Genius-Hour-Check-Ins-header.jpg

This is part two of a three part series on Genius Hour. Don’t forget to check out Part One: How To Get Started With Genius Hour in Lower Elementary, and Part Three: Genius Hour Presentations.

Use a Work Log

First, start each work time by taking a peek at the Genius Hour Work Log.  As seen in the Sample Genius Hour Day, students end each day by writing in this log.  Start each work time with a brief reminder of what they had hoped to get started on.  This should give them something to begin with.  

30-Second Check-Ins

Next, once students have started working on something, begin doing 30-second check-ins with each student.  30-second-checks are the lifeblood of my Genius Hour time.  I find that in 30-seconds (or less!) you can pretty quickly tell which students need a little extra help, which ones are doing well, and which ones will need some 1:1 time later in the hour.  I will sit at my teacher table and call students up to let me know where they’re at, and maybe ask a question or two.  Together we will make a quick goal for them to complete before we meet next.

For example: “Find out three more ways that giraffes gather food and then move to creating your project .” “You are going to record three more minutes of your History of Spiderman podcast before we meet next.” “Before next Friday, you will finish painting your birdhouse and bring a notebook to start planning your presentation.”

Divide Genius Hour Work into 3 Stages

Genius Hour work time is largely self-paced.  To help students stay on track, I divide Genius Hour (everything before the presentations) into three stages: research, projects, and presentation planning.  

  1. Research - In this stage students are doing the ‘nitty gritty’ research into their topic and trying to answer their essential question.  At the end of this stage, they should not only know the answer to their question but have good knowledge of the topic as a whole. 

  2. Project - In the project stage students are working on whatever ‘project’ they have chosen to show what they have learned.  This may be a traditional poster/presentation, they may be building a website, recording a podcast, or creating a number of art pieces using the technique they have researched. 

  3. Presentation Planning - When students are confident in their topic and have completed their project, they begin to plan for their presentation.  In my class, this means practicing what they will say in front of the class.  Some students choose to write out a short speech.  If multiple students are at this stage, this is a great chance to practice taking questions about their topic from a peer. 

Somewhere in the classroom I write these three stages on the board and leave space for students to write their initials.  It’s a quick and easy way to see what stage a student is at and see who may need a little more support to move forward.  (Or, see who may be moving too fast, and may need me to check-in with them to see if their research is deep enough or their project thorough enough). 

A small whiteboard displays the word “genius hour” with three subheadings: research, project, and presentation planning.

A small whiteboard displays the word “genius hour” with three subheadings: research, project, and presentation planning.

These routines have made genius hour run so much more effectively in my third grade classroom! I’d love to know if you’ve found any others that have helped students to stay on-task and remain focused during this student-led time. Share them with us in the comments below or over on Instagram! Looking for where to get started with Genius Hour? Read all about my best tips, tricks, and learn from my mistakes on Getting Started with Genius Hour.

genius-hour-planning-pack

A complete plan is here!

I’ve taken everything I’ve learned from years of Genius Hour and created a complete digital and printable guide to starting up this engaging project in your second, third, or fourth-grade classroom. It has teaching guides, a week-by-week timeline, a sample day plan, project ideas, parent letters, student planning pages, rubrics, and more!

Genius-Hour-Accountability-pin2.jpg
Life Cycles of Animals and Plants: 6 Engaging Ideas

Spring is in the air, can you feel it? As the weather starts to warm up, and we start to thaw out a little bit up here in Canada, it’s the perfect time to think about our next set of science lessons. Spring is my favorite time to teach about life cycles because we can naturally observe them all around us. If teaching about the life cycles of living things is on your science lesson plans this spring, take a peek at six of my favorite ways to keep students engaged as we study how plants and animals grow and change.

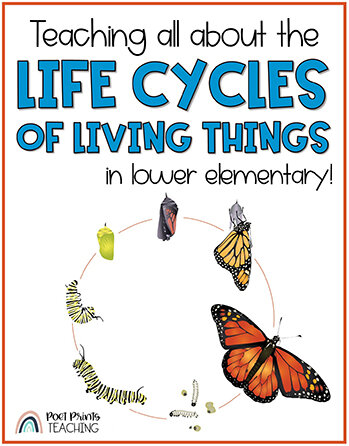
Teaching all about the life cycles of living things in lower elementary. The life cycle of a butterfly is depicted.

Teaching all about the life cycles of living things in lower elementary. The life cycle of a butterfly is depicted.

1. Grow plants in the classroom

A student observes a bean plant and writes in a plant observation journal.

A student observes a bean plant and writes in a plant observation journal.

Study the life cycle of a plant in a hands-on way by planting a bean seed in a simple plastic cup in your own classroom. (You can read all about how we used inquiry-based science to grow and study our bean plants here!) Then, we use plant observation journals to make note of the various stages of plant growth, and track the growth on a simple graph (hello, math integration!). Watching students get excited about growing their own bean plant never gets old. I’ve done this activity year after year, and I’m always amazed at how many students decide to continue growing their bean plants at home. 

2. Set up a Student-Led Reading Station

Gather books about the life cycles of plants and animals and set them up in  a reading station in your classroom.  In a perfect world, these should be available from your school or district library, but your local library may also have titles available.  Ask your students which plants and animals they are interested in! Give students time during silent reading or science to freely explore the books and learn more about the plant or animal of their choice.  Need a few reading passages at students’ levels for your station? Grab my free digital and printable life cycles of living things reading passages (with comprehension questions) to add to your reading station!

3. Head outside and observe life cycles in your neighborhood.  

If are able, walk around your school property or neighborhood in the spring! Point out buds on trees, flowers, and things sprouting from the ground. Bring notebooks and pencils to sketch examples of living things and moments in the life cycle of a plant or animal. 

4. Get hands-on with a life cycles project

Life Cycles of Living Things (4).jpg

Read about the different stages in the life cycle of a salmon and create a fun flipbook project to help students show what they’ve learned.  It’s the perfect way to integrate non-fiction reading into your science lesson. This project is part of the complete Life Cycles of Living Things science unit for second grade. 

Teach Plant & Animal Life Cycles Today!

Looking for a FAST way to plan out your life cycles unit that includes 2 full weeks of ideas? In just a few clicks you can grab all of the pieces you need: vocabulary, nonfiction reading, projects, activities, and more! Click and print. Planning is really that easy.

5. Observe a Life Cycle

Observing a complete life cycle is such a fun way to get students engaged in science.  This can be done in a few different ways:

 6. Watch YouTube videos about the life cycle of animals

Sometimes videos can give students great visual representations about simple life cycles.  Check out some of my favorites at a few different levels.

Text: Teaching all about the life cycles of living things in second and third grades.   Image: A child looks into a tank at an aquarium.

Text: Teaching all about the life cycles of living things in second and third grades.
Image: A child looks into a tank at an aquarium.

Physical and Chemical Changes - Science Lessons for Kids

What do you do when a topic seems too tricky to tackle? Up here in British Columbia, our Grade 2 Science curriculum specifically covers 'Chemical and Physical Changes' - students are expected to understand that materials can be changed through physical and chemical processes. It's a much more complex version of the question "Can this change be reversed?"

How to teach physical and chemical changes in lower elementary.

How to teach physical and chemical changes in lower elementary.

Keep Science Lessons as Hands-On As Possible

At the beginning of second grade, many students are still 7 years old. Where our lessons on force and motion had a lot of familiar language, this chemical and physical change vocabulary can seem new and overwhelming. At the beginning, students find it hard to tell the difference between a chemical and a physical change.

When trying to teach this to elementary students I've found that HANDS-ON has been (by far) the most effective method. When students can see, touch, and create different chemical and physical changes it's so much easier for them to discern the difference between the two.

Along with using proper terminology (I drill the words "chemical change" and "physical change" into their heads over and over during their entire unit!) we make sure to stop and practice these changes over and over.


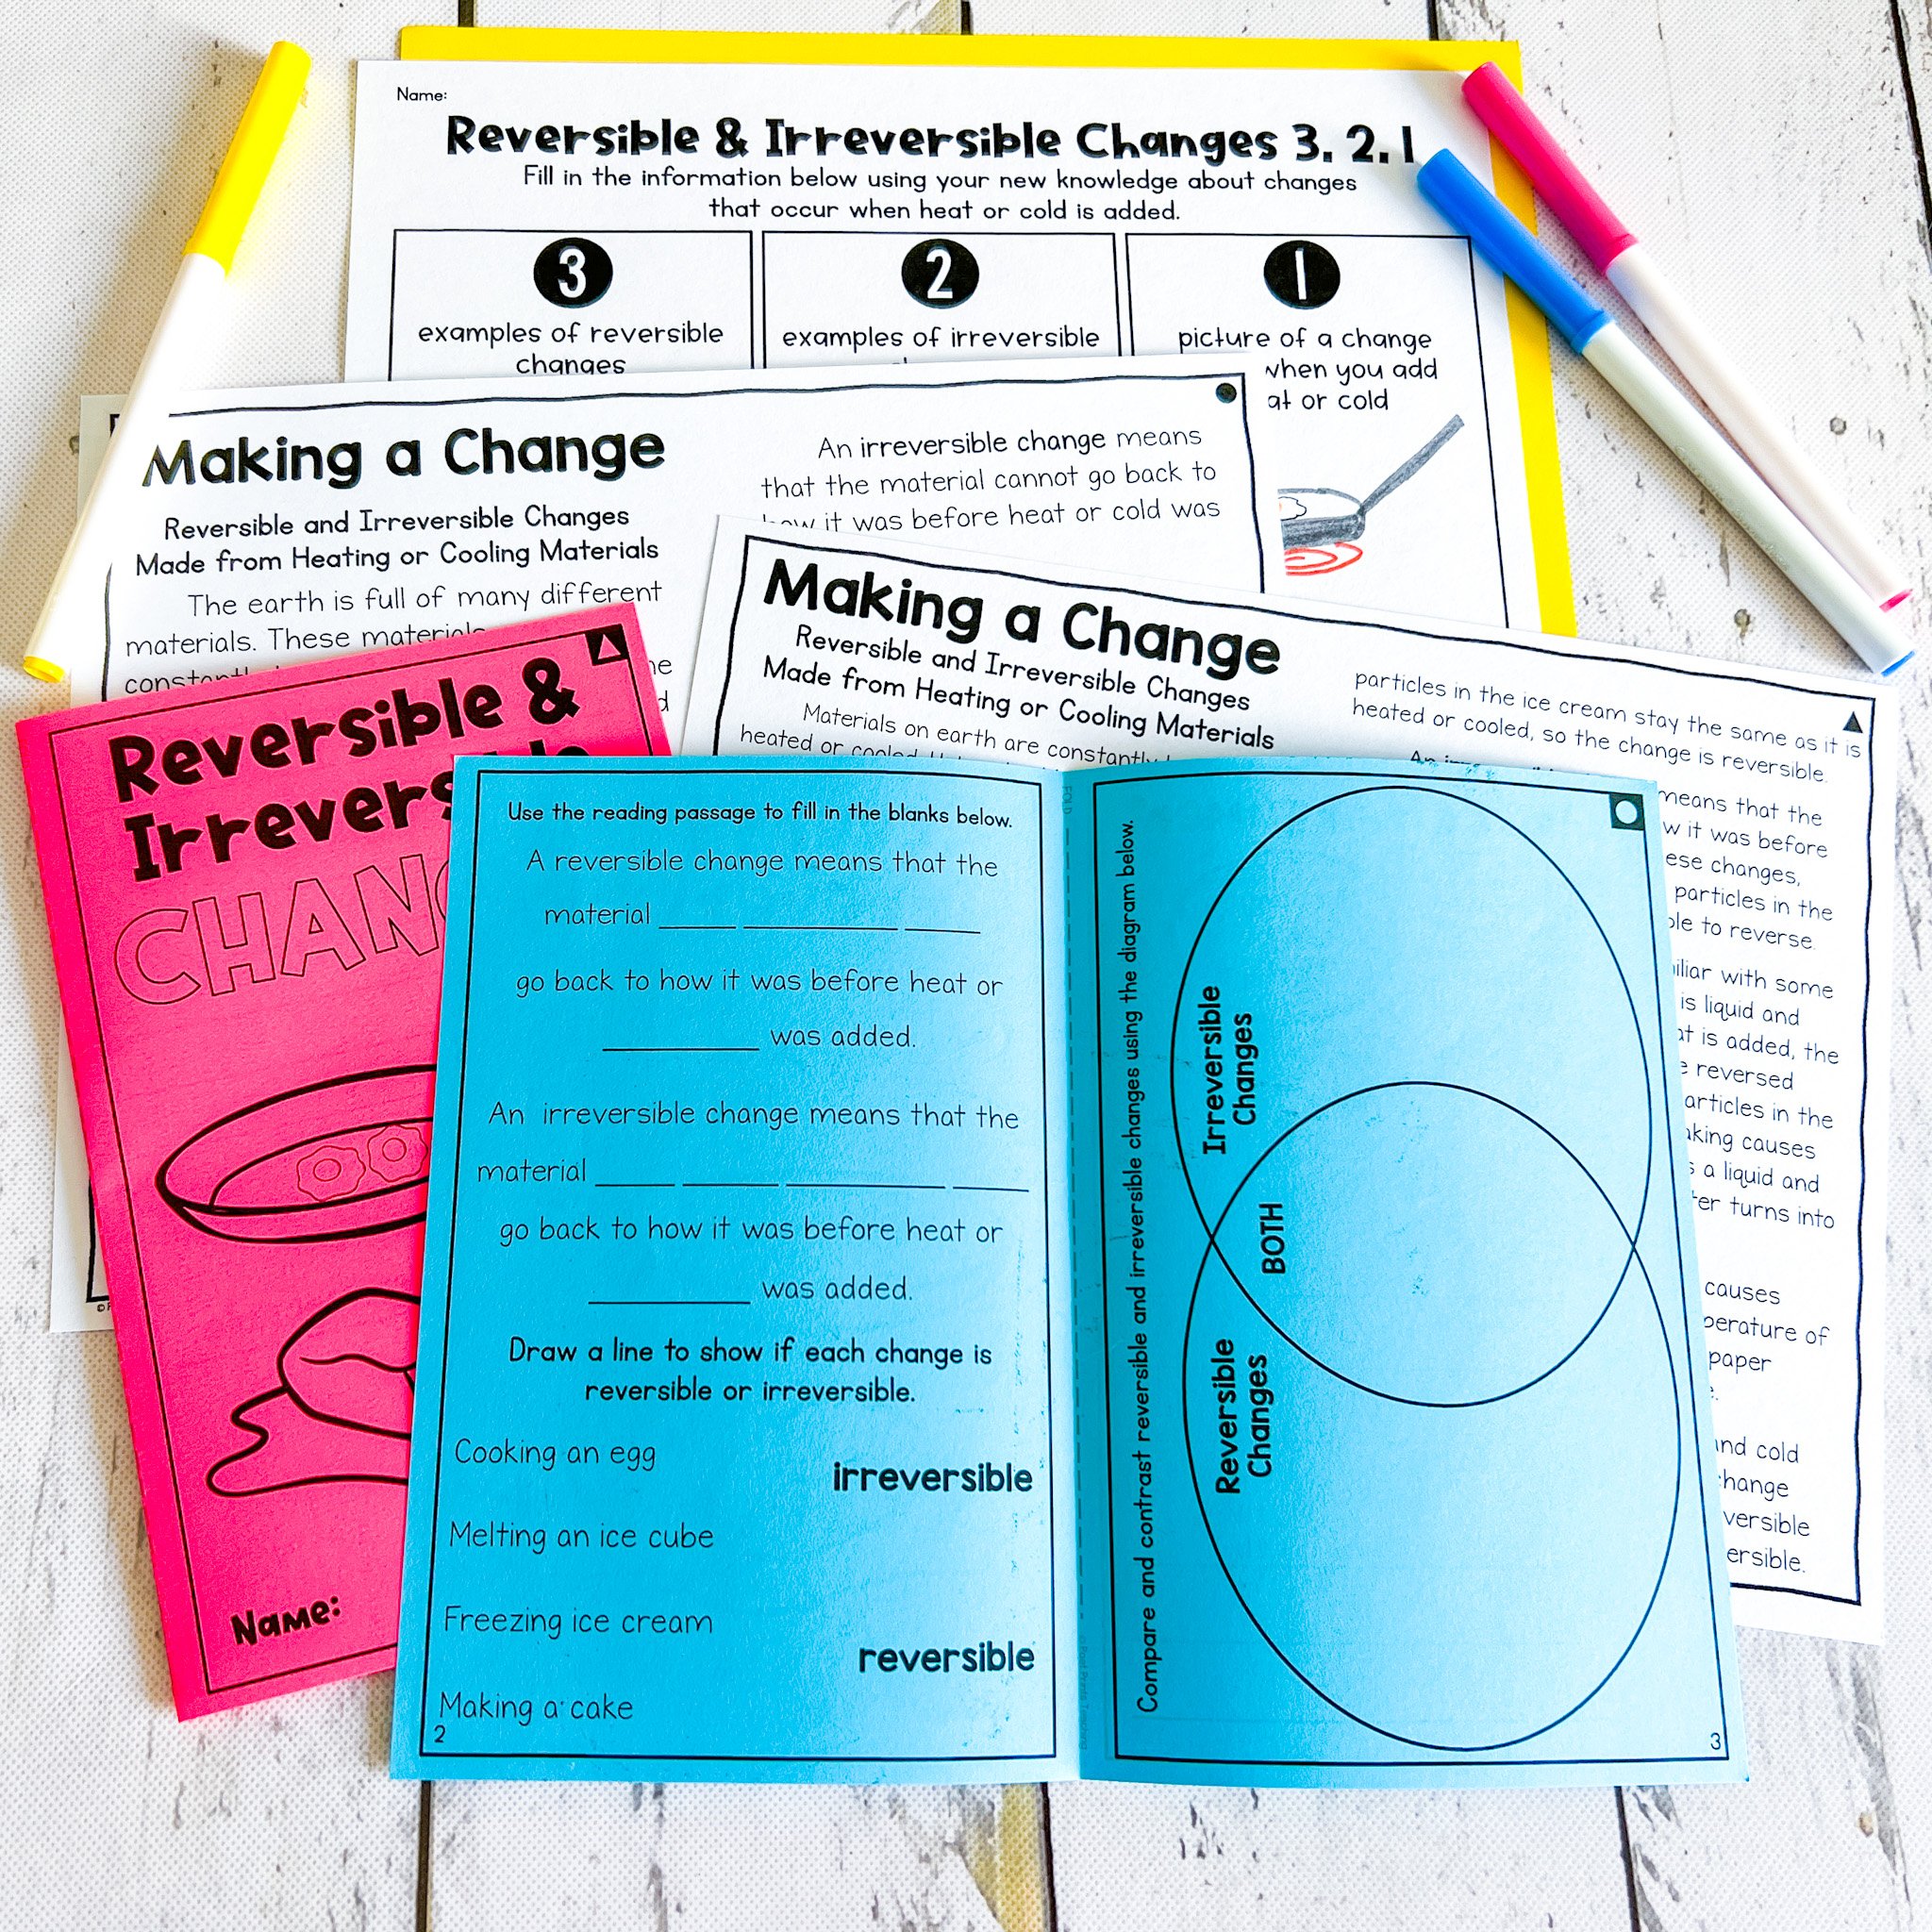
Nonfiction reading passages: Reversible and Irreversible Changes

Some curriculums and school districts don’t use the terminology ‘chemical change’ and physical change’ - they go a little simpler with ‘reversible and irreversible changes’. In the NGSS for 2nd grade this is as deep as it goes. This set of nonfiction reading was designed to work with curriculums that use the ‘reversible and irreversible’ change vocabulary - but it’s a great starting point for any science lesson on this topic!


Begin with Teacher-Led Lessons to Build a Solid Foundation

Is the change physical or chemical? A Science anchor chart.

Is the change physical or chemical? A Science anchor chart.

We start our physical and chemical changes unit by front-loading information that will help them along the way. Together, we define the terms "chemical change" and "physical change" on an anchor chart (they complete their own mini-version in their science notebooks too!). Then, we work in pairs or small groups to talk about potential changes, and why they might be chemical or physical. It's a simple activity, but it helps to bring focus back to the anchor chart as they think about the questions we posed: Is something new being created? Can this be reversed? What can we observe?

Use science stations to give a real-life experience

My BEST way to help students to really discern the difference between a chemical and physical change is to try it out in as many experiments as possible. I do this using stations. Using science stations gives my little scientists a chance to use the scientific method (that we learned about here!) to test what they know about changes and decide if their experiment resulted in a physical or chemical change. I set up six different stations in the class, and we rotate through them. There are a few different ways you can do science stations in an early elementary classroom.

  • Set up six identical stations and have all students complete the same station at the same time. This one works best if your class is a little less mature and you feel they will need a lot of guidance to move through the stations. Then complete the stations over a number of different days.

  • Set up only one or two stations, with multiple stations of each. (i.e. Set up three ‘A’ stations, and three ‘B’ stations, and divide your students into 6 groups). This also reduces the number of different Science experiments you have to manage and set up at one time. The next day, set up two different sets of stations.

  • Set up 6 different stations at once. For students who are comfortable working independently in small groups, this one is my personal favorite. If we are completing this unit in the 2nd half of the year, I tend to lean towards this option. We will set up 6 different science stations, and put one group at each station. I find this option to be difficult at the beginning when small group skills are still being developed.

chemical-physical-change-station.jpg

Physical & Chemical Change Science Lessons

It’s easy to teach about physical and chemical changes with this set of scripted lesson plans! Nonfiction reading, 6 science stations, lessons, and vocabulary are all included!

Print and teach. It’s that easy.

physical-and-chemical-changes-pin.jpg
The Scientific Method: Lessons for 2nd and 3rd Grade

Science is my favorite subject to teach. I know I’ve said that before, but I mean it! There’s something about the continual discovery and inquiry that happens during a science lesson that is second to none, it is hands-on and moves beyond science worksheets. Science experiments are the backbone of my science class, and any experiment or STEM challenge is rooted in the scientific method. It is so important that students understand the steps in the scientific method so that they are ready to conduct scientific inquiries in and out of the classroom.

Experiments are a great way to learn the scientific method without worksheets!

Experiments are a great way to learn the scientific method without worksheets!

Make Sure to Teach the Steps

This may seem simple, but I start the year with a lesson specifically on “the scientific method”. I walk my students through the steps so that they understand each step of the process. I’ll put the steps of the scientific method on an anchor chart, and write any new vocabulary words on our word wall. We’ll talk through each step:

  • Creating a Question - What are we exploring? What question are we trying to answer with this experiment?

  • Hypothesis - What do we expect will happen? Is this guess reasonable? What do we already know about this topic? (I do spend quite a bit of time teaching about how to create a reasonable hypothesis, second grade students have a tendency to make wild and outlandish guesses about what will happen in an experiment!)

  • Procedure - What steps will we take to conduct the experiment? We need to document absolutely everything that we do so we can do it again later if we need to. This is also a great time for a mini-lesson on how to complete a scientific diagram with labels.

  • Results - What happened when we completed our experiment? What did we observe?

  • Conclusions - What do we know now? Was our hypothesis right? This is the place where we give a summary of how the experiment went and let other scientists (our peers!) know what we might do differently next time!

Complete a Science Experiment Together

We used this Scientific Method worksheet flip book to record our steps as we complete the experiment

We used this Scientific Method worksheet flip book to record our steps as we complete the experiment

To really help students to understand the steps in the scientific method, I like to do (at least) one experiment altogether, using the same recording form, following the same procedure, recording the same information. It’s all exactly the same. You get it. It’s not that I don’t want students to think for themselves, but I find it helps to build a foundation for success later on if we’ve done one perfectly together. (I use this technique a lot, actually. It’s how I set my students up for success in our Inquiry Crime Scenes as well.)

Let Students Find Their Own Experiment

Now that students are comfortable with the steps and vocabulary in the scientific method, and they’ve done an experiment together with me, it’s time for them to do one on their own. This is a great chance for a little student-led learning. Within reason, I’ll let students find their own area of interest, devise their own hypothesis, and we’ll work together to gather the materials to complete the experiment! Sharing the results is a great chance to practice presentation skills and bring in a few speaking and listening standards to our science lesson.

“Teaching the Scientific Method in Third Grade”. Two students hold up science experiment supplies.

“Teaching the Scientific Method in Third Grade”. Two students hold up science experiment supplies.

Force and Motion Activities For Kids

Teaching about force and motion is one of the most fun parts of our science curriculum! The whole topic naturally lends itself to so many hands-on experiments and challenges that it’s easy to keep kids in second and third grade engaged and having fun. These Science lessons are easily some of my favorite ones we do all year.

force-and-motion-activities.JPG

When we cover force and motion in elementary (second, third, and fourth grades) we do a little bit of everything: push forces, pull forces, friction, static electricity, magnetic force, air resistance, and more!

The Easy Way to Teach About Force and Motion

Everything you need to teach about forces and motion in 2nd and 3rd grades. Nonfiction reading, STEM Challenges, Experiments, Worksheets and scripted instructions.

Print and teach. It’s really that easy.

Start With Force and Motion Vocabulary

Although I am a big believer in student-led learning, I always start my units with teacher-led information. When I scaffold learning this way (by front-loading the teaching) I'm giving my students a solid foundation for the hands-on experiences that are coming later on. For force and motion, we start with learning all of the basic vocabulary. I'll set up a word wall, and we'll use simple non-fiction readers to help to teach unfamiliar concepts. These force and motion worksheets serve an important purpose in our classroom!

Then, when we start getting into group and student-led lessons, my students are being tripped up when they encounter words like "static electricity" or "magnetic force" or "friction" because they have a basic understanding of most of these already.

Helpful Force and Motion Videos

In the past, I've used videos and youtube clips to help students really understand these physics concepts. If you can access YouTube at school, these were great videos to help introduce new vocabulary with visual aids!

This first video introduces the difference between pull forces and push forces.

This video is all about Friction! We used it before our Friction stations to give students a little more background knowledge before some hands-on exploration. (Plus, the host is really engaging!)

Force and Motion STEM Challenges

The Force and Motion unit includes 3 hands-on stem challenges!

I have always been a big fan of STEM challenges. If you haven't done one before (*insert mind-blown emoji) , this is a GREAT place to start. The open-ended nature of these challenges let students be successful as they guess/test scientific theories at an age-appropriate level.

In our force and motion unit, we do a handful of STEM challenges and the Magnet Maze is probably one of my favorites. It's so creative and my students had the best time gathering materials and creating their magnet mazes. When they're complete, we take the time to test each other's mazes. It's a blast. You can grab the worksheets and teacher lesson plans for this STEM challenge below!

Nonfiction Reading About Forces and Motion

One of the best ways to give students scientific background knowledge is nonfiction reading. I firmly believe in integrating science and reading, it’s a great way to set students up for success. When students can access nonfiction about each science topic (at their level) it can level up the engagement.

Force and Motion reading passages and STEM extension

This is a set of paired passages all about force and motion, and using forces in real life. They’re written to be at a third grade level and are also aligned to the CCSS - so you’re meeting two sets of standards at once! This particular resource also includes a STEM challenge that’s all about catapults - the ultimate force and motion tool


‘Balanced and Unbalanced Forces’ a set of differentiated nonfiction passages

If you JUST need nonfiction reading, I have a set of differentiated passages all about balanced and unbalanced forces. It’s a good place to set the stage and teach students the differences between the two!

Ready to teach the entire Force and Motion unit? I have an entire unit’s worth of lessons, hands-on activities, and experiments that are ready to go! Everything you need to teach all about forces in second and third grade is here and ready. Just print, read, and teach.

Ideas, lessons, and experiments to teach about force and motion in a second or third grade classroom.

Ideas, lessons, and experiments to teach about force and motion in a second or third grade classroom.

Google Resource Tips and Tricks

Are you having issues with digital resources? Not sure how to assign out a Google Slides product? Do you want to send out only ONE slide/page of a resource at a time to your students in Google Classroom? I’ve scoured the internet and had conversations with many teacher-colleagues to put together this resource of videos, articles, and blog posts that will hopefully help to answer some of these questions!

Google Resource Blog by Poet Prints Teaching

Hopefully, these posts can help you as you navigate the digital Google components to the Poet Prints Teaching units you already love. Make sure to check here to see which digital units have been upgraded. Re-download the units you already own to access the new digital upgrades!

I’m new to Google Classroom. Where do I even start?

Pocketful of Primary has a great video on the basics of Google Classroom here. Take a look around her Youtube Channel. After a handful of videos, you’ll feel ready to dive headfirst into your Google Classroom!

How do I get my digital TPT purchase into Google Classroom?

Shelley Gray Teaching has an AWESOME blog post that walks you through each step in this process. She does a fantastic job of walking you through everything from opening up the initial link in your TPT purchase, to opening the Slides file, to assigning it in Google Classroom.

How do I assign a Google Slides product to my students in Google Classroom?

Check out this video by Pocketful of Primary. Although this video dives deep into how to create your own resources (wow!) she gives a great step-by-step video tutorial of assigning a Google Slides product right in Google Classroom. Start at 5:35 for this.

How can I assign only one or two pages at a time, instead of the whole digital slides file?

In this blog post, Learning to the Core explains how to separate her reading passages by making multiple copies of the original Google Slides file. The same principle can be applied to ANY Google Slides file that you purchase on TPT.

  • Make a copy of your Google Slides file (File > Make a Copy > Entire Presentation)

  • Save that new copy (so you now have both, the original with ALL the slides, and your copy)

  • In the copy, delete all the slides that you don’t want for the day

  • Send your students the new copy, with only the slides you want them to have!

  • Repeat as necessary

How do I use Google Slides resources in Schoology?

Technically Speaking with Amy has a great video about how to use the Google Classroom app (and your Google slides resources) right within Schoology. Her post about it is here, and it’s super straightforward.

What if I don’t have Google Classroom? Can I still send my resource to my students?

If you don’t have Google Classroom there are some options for getting Google Slides resources into the hands of your students. Take a peek at Shelley Gray Teaching’s blog for her super-helpful (and screen-capture full!) information all about the best ways to send these out.

Google Resource Tips by Poet Prints Teaching
A No Prep Hack for Unexpected Days

I have always been a big proponent of hands-on classrooms. Inquiry... yes! Project-based learning... yes! However, there are moments where pencil-and-paper work is needed, and I prefer that work to be engaging, meaningful and still FUN.

 
Using No Prep Books - Poet Prints Teaching
 

Traditional worksheets are still useful in the classroom.

  • They help students to read and follow instructions

  • They give early elementary students a chance to practice printing and penmanship.

  • They can allow a moment of focused independent work

  • They teach students to organize their thoughts on paper

  • They give students a chance to practice a new skill or show an understanding of a new concept.

Don't get me wrong, worksheets should not be your sole method for teaching and showing understanding. In fact, teaching and learning should be hands-on. But there is a place for a well-design and purposeful worksheet.

I use no-prep books in my classroom to practice important standards-based skills in a fun and engaging way. Check out the four places I use no-prep books in my classroom.

Using No Prep Books as Morning Work

It's no secret I'm a fan of a good morning routine (read about that here), but I do like to make sure that our morning work serves a purpose and is also FUN. I incorporate these seasonal books into our morning work routine to mix things up, provide skills practice, and celebrate fun holidays.

Using No Prep Books for Early Finishers

I use my no prep books as one option to keep my early finishers engaged after they've completed their assigned work. It’s a great way to ensure students have something meaningful to work on while their peers continue on.

Using No Prep Books in a Sub Tub

I keep a master copy of at least two of these books in my sub tub at all times. You just never know when you'll suddenly be out of school for a day (or more) and it's great to leave your sub something fun that's still meeting math and LA standards!

Using No Prep Books when Something Goes Wrong

No Prep Books by Poet Prints Teaching

We've all had something happen in the classroom at some point. The guest speaker cancels. The bus for the field trip doesn't show up. The assembly is suddenly delayed 15 minutes. No matter the mini-emergency, it's great to have a little bit of purposeful work ready to go at a moment's notice. My students always know where their booklets are and I can say, "Let's work on the math puzzles in your Valentine's Book!" Easy peasy! A quick math activity while I figure out a new plan for our day.

These are the BEST to have around as a ‘just-in-case’! I’d love to see how you use no prep books in your classroom. Share a picture and tag me on Instagram, @poet.prints! If you share a picture using one of my No Prep Books (and tag me in it!) I’ll send you another book for free!

 
No Prep Books by Poet Prints Teaching 2

I have a series of No Prep Books for second, third and fourth grade available NOW in my TpT store. They are print-and-go and available individually or in a discounted bundle!

Building Community with Board Games

It's almost impossible to get away from 'friendship issues' in the classroom. The second half of Third Grade seems to be the season for bickering and fighting, no matter how many community-building exercises we have done in the first half. I absolutely LOVE Third Grade, but it also seems to be the year where they discover that they can be mean to each other by intentionally discluding others in activities and saying generally unkind comments under their breath.

Building Community with Games by Poet Prints Teaching

There are so many strategies for building classroom community in tough seasons like these. We've talked about love languages, and learned how to be bucket fillers, I've implemented whole-classroom curriculums on peacekeeping and gone to anti-bullying Pro-D seminars. Today I'm going to share one small activity that has made a big difference.

One of the more successful things I've found was a few afternoons of purposeful play. I would ask students to bring in a favorite board game from home and get ready to use it during class time. (Certain years my students weren't excited by board games, and I'd set out lego or other building materials as an alternative). Then, I would divide them into intentional small groups that would change each day. These groups were designed ahead of time so that students would get to know people outside of their regular social circles.

While students were playing I would project a get-to-know-you or deeper thinking question that they needed to ask their group mates. We'd go through 3-6 questions over the course of our 30-45 minute 'play' time. I always pull my questions from the book 'Q&A a Day for Kids', it's one of my 'secret weapons' as a Third Grade teachers. There are so many great questions. I use it for this activity and for morning meetings every Friday! (You can find it HERE, this is not an affiliate link).

My admin was on board with this afternoon break to play board games and build with Lego because it was purposefully character-building and my students were having a hard time with bullying and exclusion. This was really good for forcing students to get to know people outside of their preferred social groups. Do you have any quick activities to help when your students are being just plain mean to each other? I'd love some new strategies. Let me know below or connect on Instagram, @poet.prints.

 
Building Community with Board Games by Poet Prints Teaching
Building Classroom Community

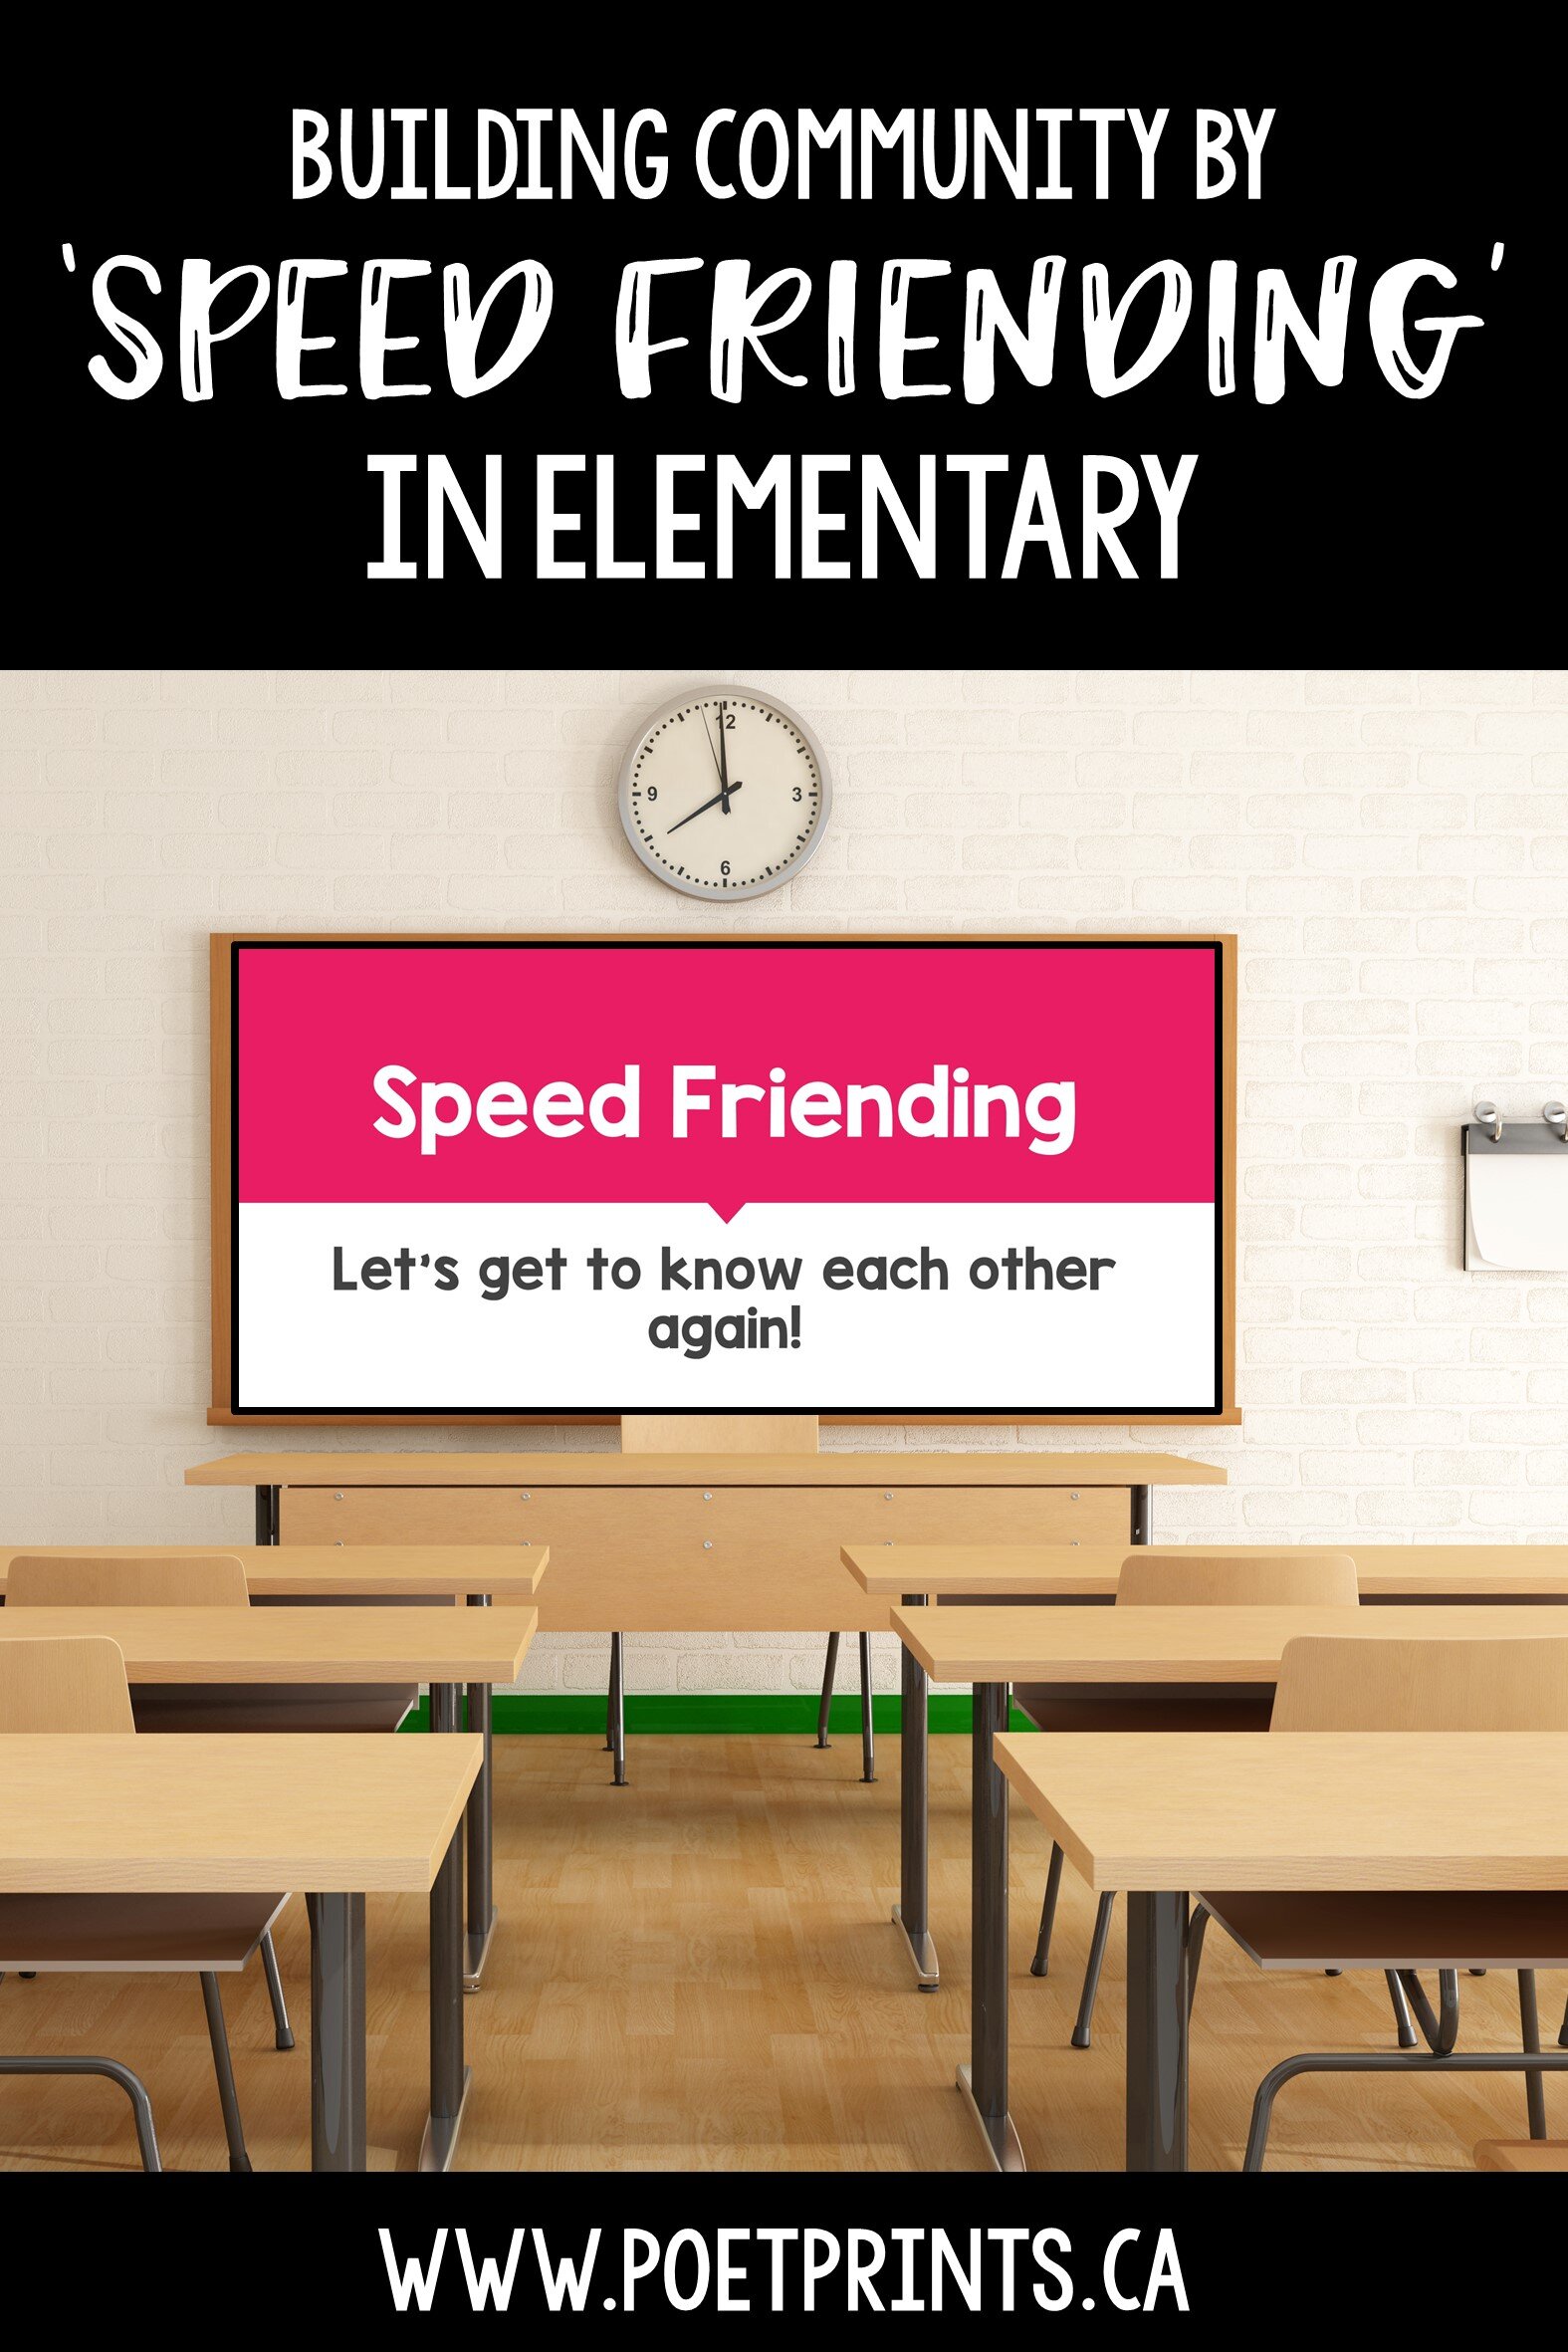
With every first day back after a school break, I try to be very intentional about how to build classroom community and help my fourth-grade students re-connect with each other. It’s so easy to resort to just catching up with friends and going with what’s familiar, so one way to help my students connect with as many peers as possible is through “speed friending!”  It’s a great classroom community activity for any time of the year! 

Speed Friending to Build Community by Poet Prints Teaching
Community Building Activity Rules by Poet Prints Teaching

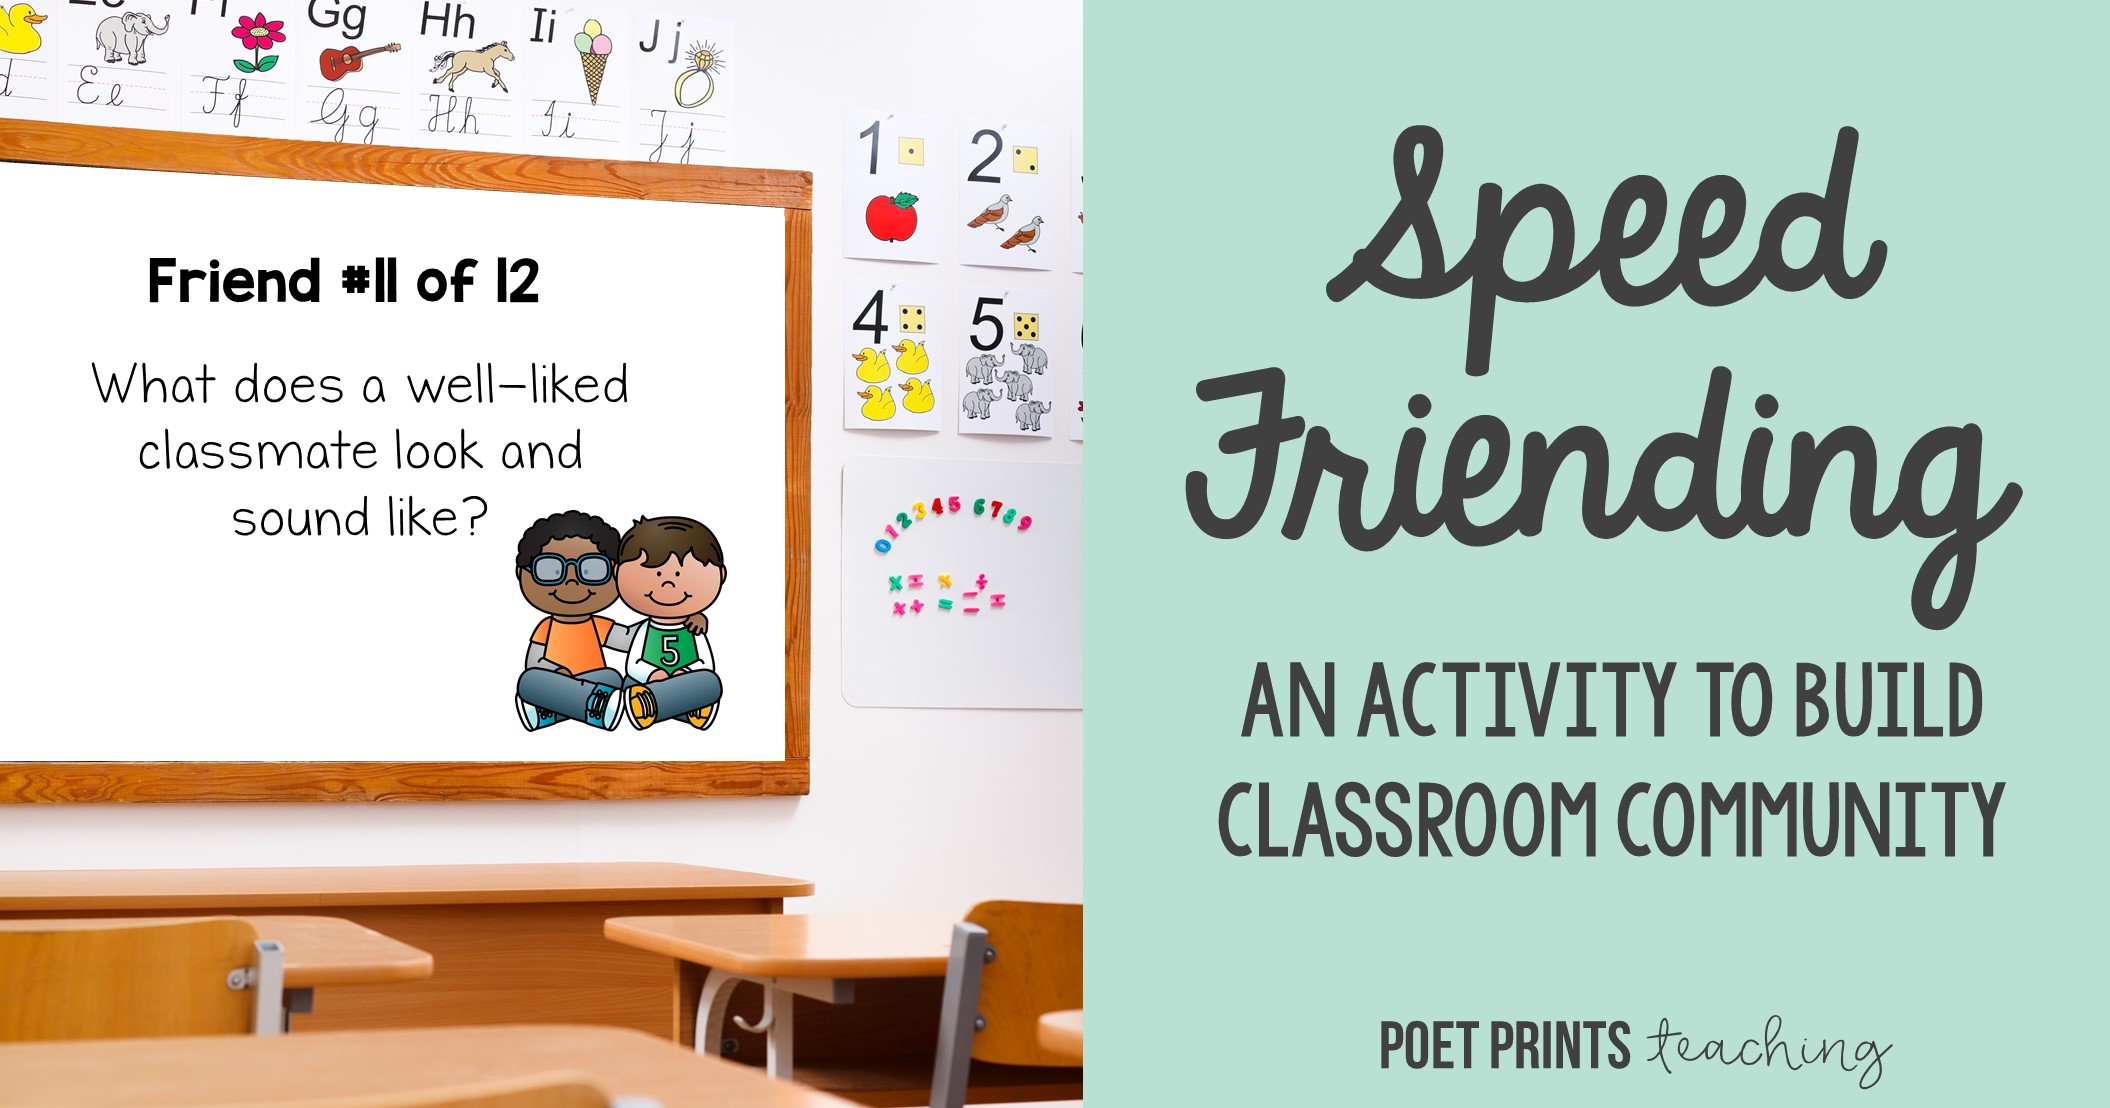
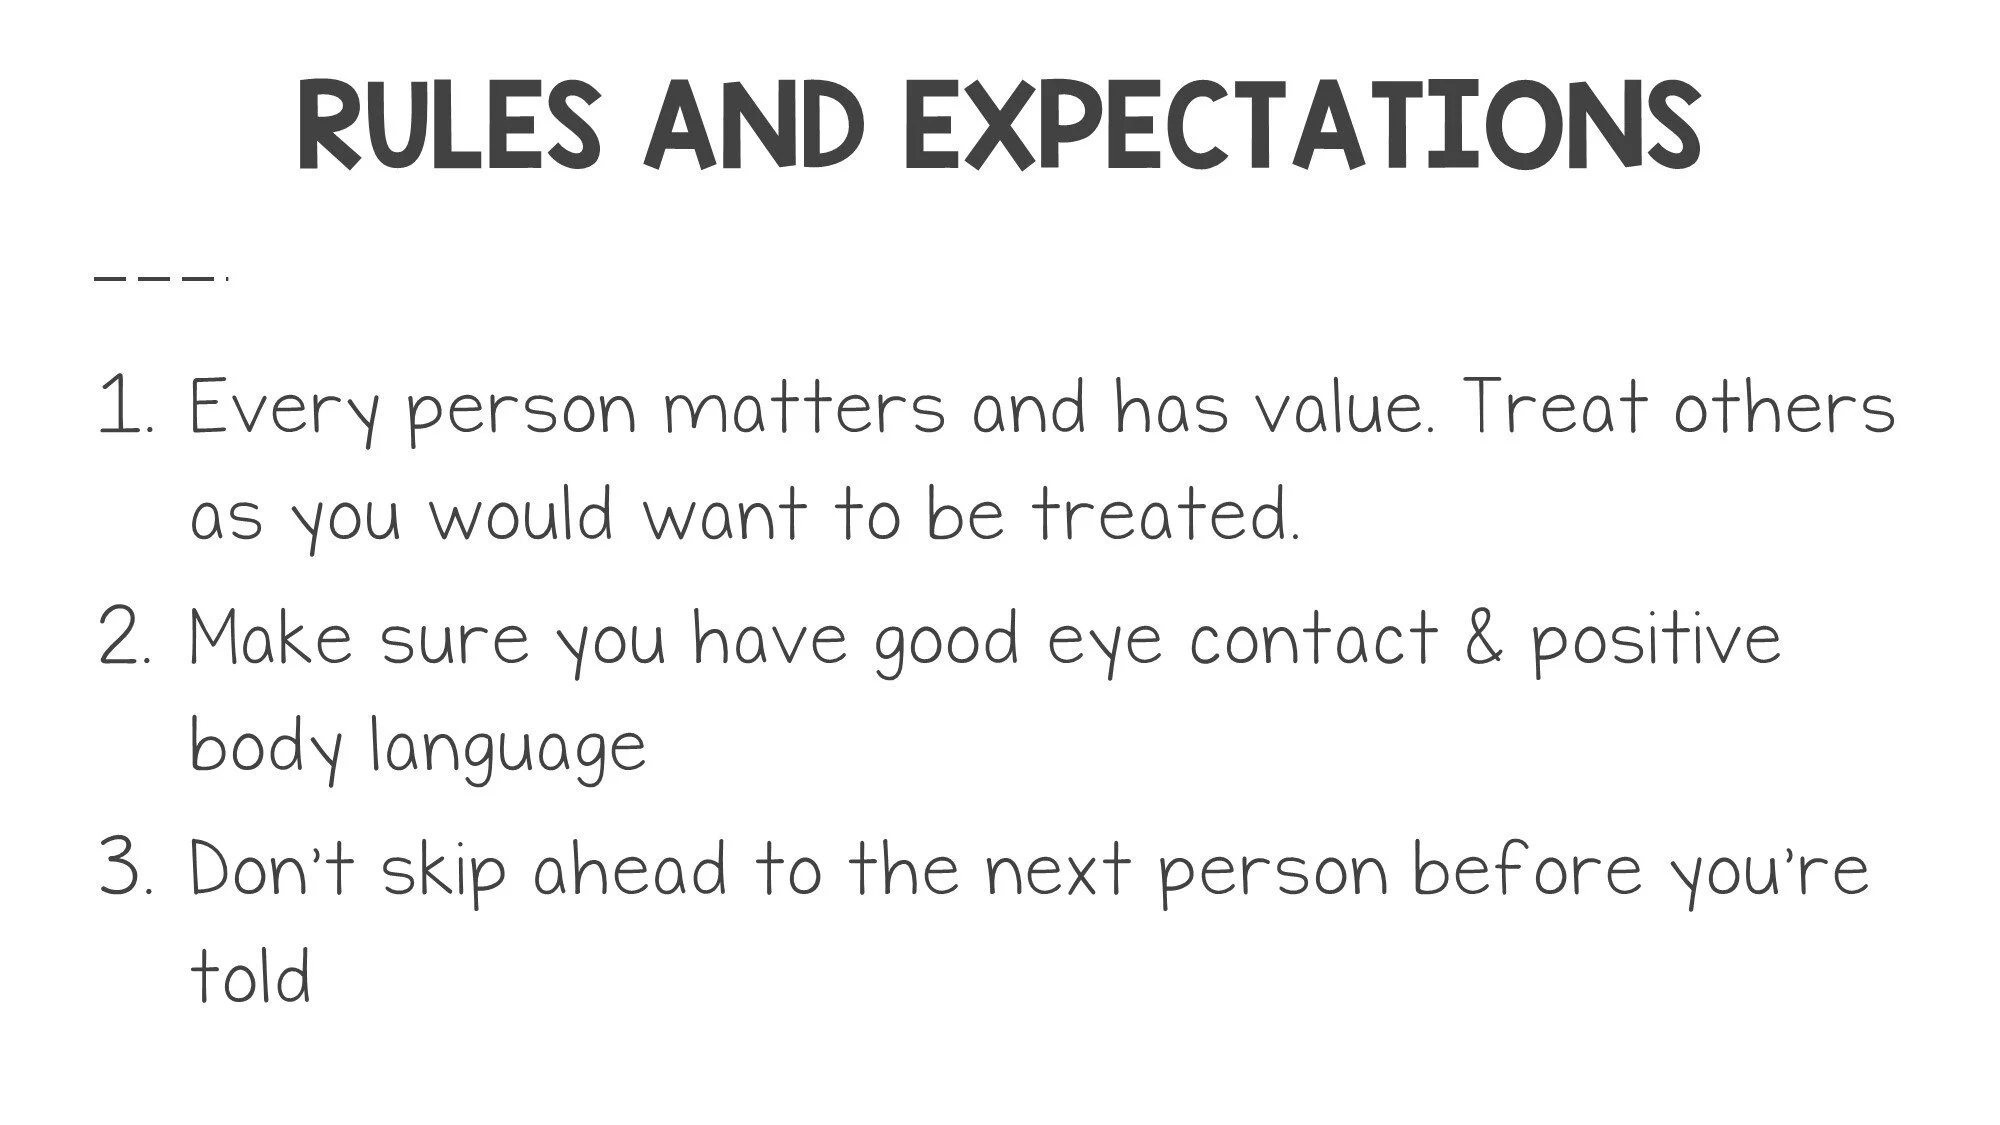
In this activity, there are a series of questions that I show on Google Slides, and with each new question comes a new peer to interact with! It’s a great way to encourage students to make connections with peers outside of their usual social circles. I start the activity with a brief set of ‘rules and expectations’ that help to set us up for success.  

With twenty-four students, I divide the class into two lines with their chairs facing each other.    I tell one of the lines that they are now glued to their chairs and that the line of classmates across from them now moves one over with each new question. 

Slide3.jpg

These questions range from silly “would you rather” style prompts to more intentional questions like “What is a quality you look for in a good friend?” Or today’s humdinger was “What is something that you really struggled with that you want to continue working on?” 

The question that received the most giggles was over “What are you really interested in right now? For example, your teacher is obsessed with Baby Yoda.”

And on the twelfth question, we end with a fun movement game where partners create a sequential rhythm with their hands and voices. 

What I love best is that the students are engaged with each new question, they enjoy the variety in different partners, and the community naturally restrengthens as the students bond over shared experiences and similar answers. 

What activities do you do that help facilitate conversation and connection in your classroom? I’m always on the hunt for new ideas.  Leave some ideas below! 

This was a guest post by Sarah, an elementary teacher in British Columbia.  She shares all of her upper elementary adventures on Instagram at @themissengteacher.  

Speed Friending a Community Building Activity from Poet Prints Teaching
Celebrating Birthdays in the Classroom

Unpopular opinion: I find celebrating birthdays in the classroom to be quite stressful.

Okay, that statement isn’t entirely true. I love celebrating my students, but I cannot stand the mountains of cupcakes, cakes, ice-cream treats, jello, and candies that are inevitably brought into the classroom.  One student even brought in a pot of spaghetti on the morning of his birthday.  I wish I was joking.

Celebrating elementary school birthdays in the classroom without sweets and treats.  – Poet Prints Teaching

While I do believe that birthdays are a great opportunity to celebrate each individual student, the sugary treats and unanticipated meals can make our day quite difficult.  Have you tried teaching 30 third-graders who are very hyper on cupcakes with mile-high-icing?  I have, and it is not easy.  Then multiply that by 20-30 different birthdays in the class… it’s a lot of sugar.  And when students spontaneously bring in a lunchtime item to share (spaghetti, hot dogs, pizza, etc.) there just often isn’t time to pass it out and eat it before the lunch bell rings.  At our school students get 20 minutes to eat lunch and passing out ‘special birthday lunch’ without notice means that students forego their outside playtime.

I also have a handful of students with a restricted diet (allergies, family preferences, naturopathic suggestions) and days with food treats just end up making many students feel left out.

There are so many other great ways to celebrate students and their birthdays without sugary treats. Here are a few of my favorites:

  1. Plan a game or activity for the class.  Bring in a soccer ball, parachute or any group game and have students play something together.

  2. Bring an in-class activity. I’ve had students bring in a small drawing project, an outdoor game, or a quick STEM challenge

  3. In lieu of cake/candy, families are welcome to bring in a small toy or pencil

  4. Do something different – last year we decorated an 11x17 piece of paper for each student.  In the center of the paper, I wrote “Happy Birthday Joe” in large letters.  As students arrived they wrote a short encouraging note on the paper.  Then, the birthday student took a picture holding the sign and wearing a birthday hat.  This was a great keepsake for the student and the picture looked awesome on a bulletin board. 

Don’t have time for a celebration like this at every birthday?  Try picking one day per month to celebrate birthdays!  Students love knowing that a celebration is coming and I like to be able to plan ahead of time for these activities.  Plus, it allows all monthly birthdays to participate, even if their family has not sent in a game or activity!  

I’d love to know how you celebrate birthdays in your classroom.  Does your school have any rules about sugary treats?  Let me know in the comments below or find me on Instagram! (@poet.prints)

Celebrating elementary school birthdays in the classroom without sweets and treats.  – Poet Prints Teaching
5 Things to Do Before School Starts

Can you believe that some schools are mere weeks away from Back to School time? Are you one of those teachers who is winding down their summer and starting to think about Back to School? I’ve never been one to really ‘unplug’ from school altogether over the summer, but I do use the time to make/create things for my classroom that are fun for me.  (Like a good DIY or cute classroom signs). Whether you are a new teacher or returning after 15 years, there are always a handful of things that need to be done before school starts again. Some are just decisions that need to be made, and others are small projects that will make the first weeks much easier.

5 things that every teacher should do and decide before school starts! - Poet Prints Teaching

1. Figure out what to do with supplies

Does your district have students bring in supplies on the first day of school? Do you buy them yourself?  In my school, we do a combination of both. On the first day of school, students arrive with backpacks full of school supplies.  You’ll need to know what you plan to do with these! Are you having students store all of their supplies in their desks? Will you keep some of their supplies in a cupboard/drawer to be distributed throughout the year? Will you gather some up as communal supplies? Decide your preference and think through what you will do with the supplies as they arrive.

Grab a free science lesson all about famous bridges. It’s the perfect way to start reading informational text and the STEM challenge is just so much fun.

2. Decide what you will do with student work

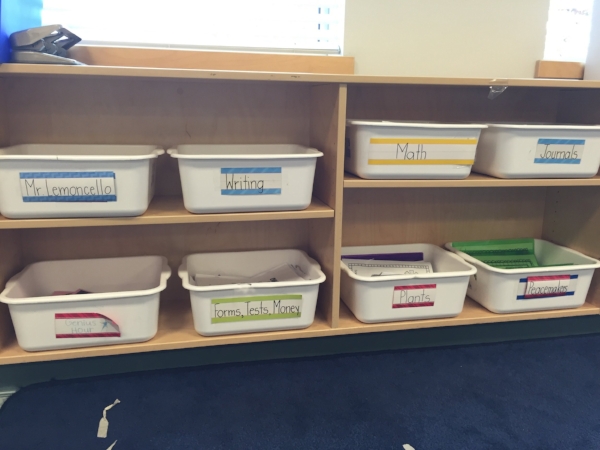
This one goes along with #1. Do you plan to have students store all of their notebooks and pronged folders in their lockers/desks? Will you keep them separate and sorted by subject area on a classroom shelf? This is important to know ahead of time as it will help you to stay organzied in the first few weeks.  If you plan to keep all of their notebooks and folders separate then the first days of school are the perfect time to collect and label all of these books.  I blogged about how I store student work over here.  


5 things that every teacher should do and decide before school starts! - Poet Prints Teaching

3. Determine your attention-getters

In elementary school, routine is key!  Decide what method you will use to get students’ attention and start practicing this on day one.  When you are consistent with one or two attention-getters, your students are able to respond quickly… freeing up a lot of time for you! Here are a few of my favorites: call and response, lights dimmed, hands up high, counting down from 5, a silent hand-gesture that signals it's time to pause and listen.

4. Start a substitute teacher document

I know what you’re thinking… school hasn’t even started yet and you think I should already be planning for a sub?  Yes. That’s exactly what I’m saying. A couple of years ago I had a medical emergency on the second day of school and was out for two weeks.  Boy, do I wish I had written down my classroom procedures, expectations, and expected routines ahead of time. Even just an interim document can be a lifesaver in case of unintended time off.  Check here for my 5 things that you’ll definitely want to include in your sub plans.

5 things that every teacher should do and decide before school starts! - Poet Prints Teaching

5. Find something to do for the first few days

This one might seem obvious, but you should have the first few days of school totally planned before you head back into school.  This is a great time to introduce some fun theme-based lessons as you get to know your students and assess their learning needs. There are lots of ways to kick off the year.  You could theme your lessons around a book, start with some engaging STEM, or jump right in with your regular schedule. No matter what, I definitely suggest having some quick-activities on hand in case a lesson is interrupted or just doesn’t go to plan.  I created this booklet to help me quickly assess student learning styles and get to know my new students a little bit better.

Did I miss anything? I’d love to know your must-do’s before school starts!  Send me a message or sound off in the comments below.

5 things that every teacher should do and decide before school starts! - Poet Prints Teaching
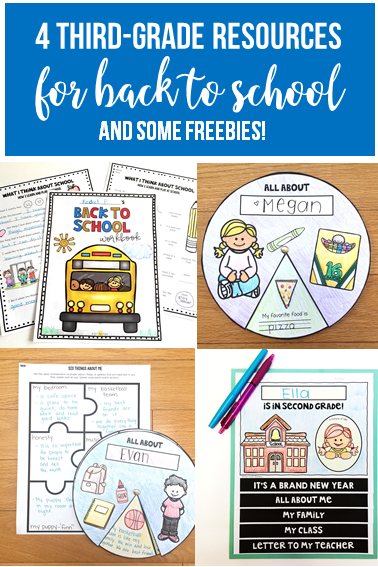
4 Resources for the First Week Back at School

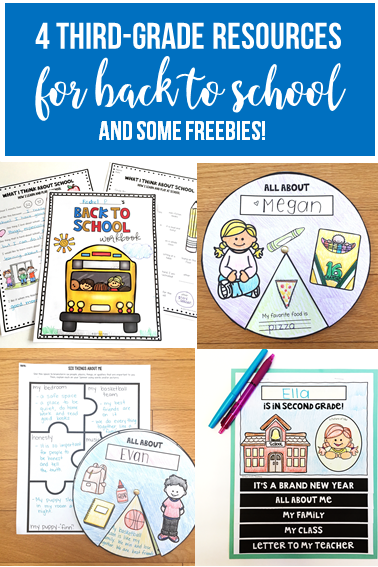
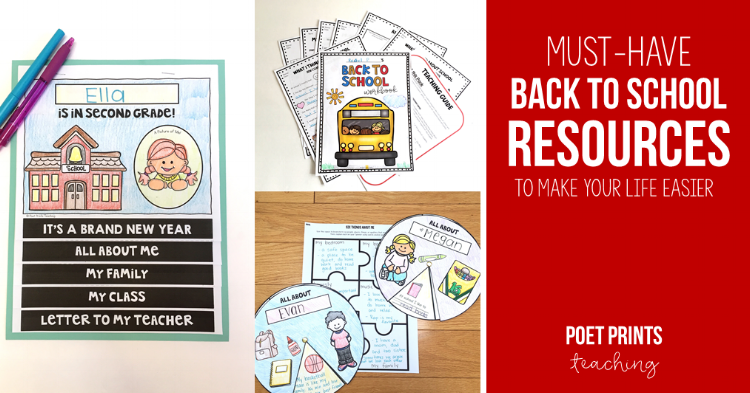
Anyone heading back to school soon? Although I still have 6 weeks until I’m back, I have a hard time really resting each summer until I’ve squared away the first week back.  Once I have a rough outline of what I’m going to do and teach those first few days.  I’m hopping on today to share a handful of the resources I’ve created in the past that were designed especially for the first week of school. I’ve used them all in my classroom and plan to start the year with them again!

Back to school resources for the first week back in third grade - Poet Prints Teaching

Back to School Workbook (with a twist!)

This little booklet is my absolute favorite resource for the beginning of school.  Although it’s filled with puzzles, games, quizzes and writing activities… they are all designed to help teachers assess basic student skills, learning styles and preferences.  I use the information gathered to plan out my next few weeks of lessons, review, and our yearly group projects!

The best resources to make the first week back to school a breeze - Poet Prints Teaching

All About Me Spinning Craftivity (FREE)

Learn a little bit more about your students with a cute craftivity.  (Grab it here!) We brainstorm together on the planning pages and then create cute spinners that let students share about themselves.  Best of all, this one is totally free!

4 resources that are perfect for the first week back at school in elementary! - Poet prints Teaching

Back to School Flipbooks

4 resources that are perfect for the first week back at school in elementary! - Poet Prints Teaching

After the All About Me Craftivity, my students transition into more writing-based work.  I have used these flipbooks in First-Fourth grade. They help students to reflect on their summer and transition into the year ahead.  I like to use them as a quick gauge of students’ ability to work independently and see what their writing abilities and needs are.

‘We Fit Together’ Bulletin Board

Once my class is settled (there’s always a few days of shuffling students in my district) I start on lessons and activities that build classroom community.  The whole year runs better when the students in my class learn to respect each other’s differences and work together as a big family.  One of my favorite bulletin boards is this one!  Students each create a puzzle piece and then we fit them together to make one diverse puzzle bulletin board!

4 resources that are perfect for the first week back at school in elementary! - Poet Prints Teaching
4 resources that you need to make back to school in third grade so much easier!  - poet prints teaching