What do you do when a topic seems too tricky to tackle? Up here in British Columbia, our Grade 2 Science curriculum specifically covers 'Chemical and Physical Changes' - students are expected to understand that materials can be changed through physical and chemical processes. It's a much more complex version of the question "Can this change be reversed?"
How to teach physical and chemical changes in lower elementary.
Keep Science Lessons as Hands-On As Possible
At the beginning of second grade, many students are still 7 years old. Where our lessons on force and motion had a lot of familiar language, this chemical and physical change vocabulary can seem new and overwhelming. At the beginning, students find it hard to tell the difference between a chemical and a physical change.
When trying to teach this to elementary students I've found that HANDS-ON has been (by far) the most effective method. When students can see, touch, and create different chemical and physical changes it's so much easier for them to discern the difference between the two.
Along with using proper terminology (I drill the words "chemical change" and "physical change" into their heads over and over during their entire unit!) we make sure to stop and practice these changes over and over.
Nonfiction reading passages: Reversible and Irreversible Changes
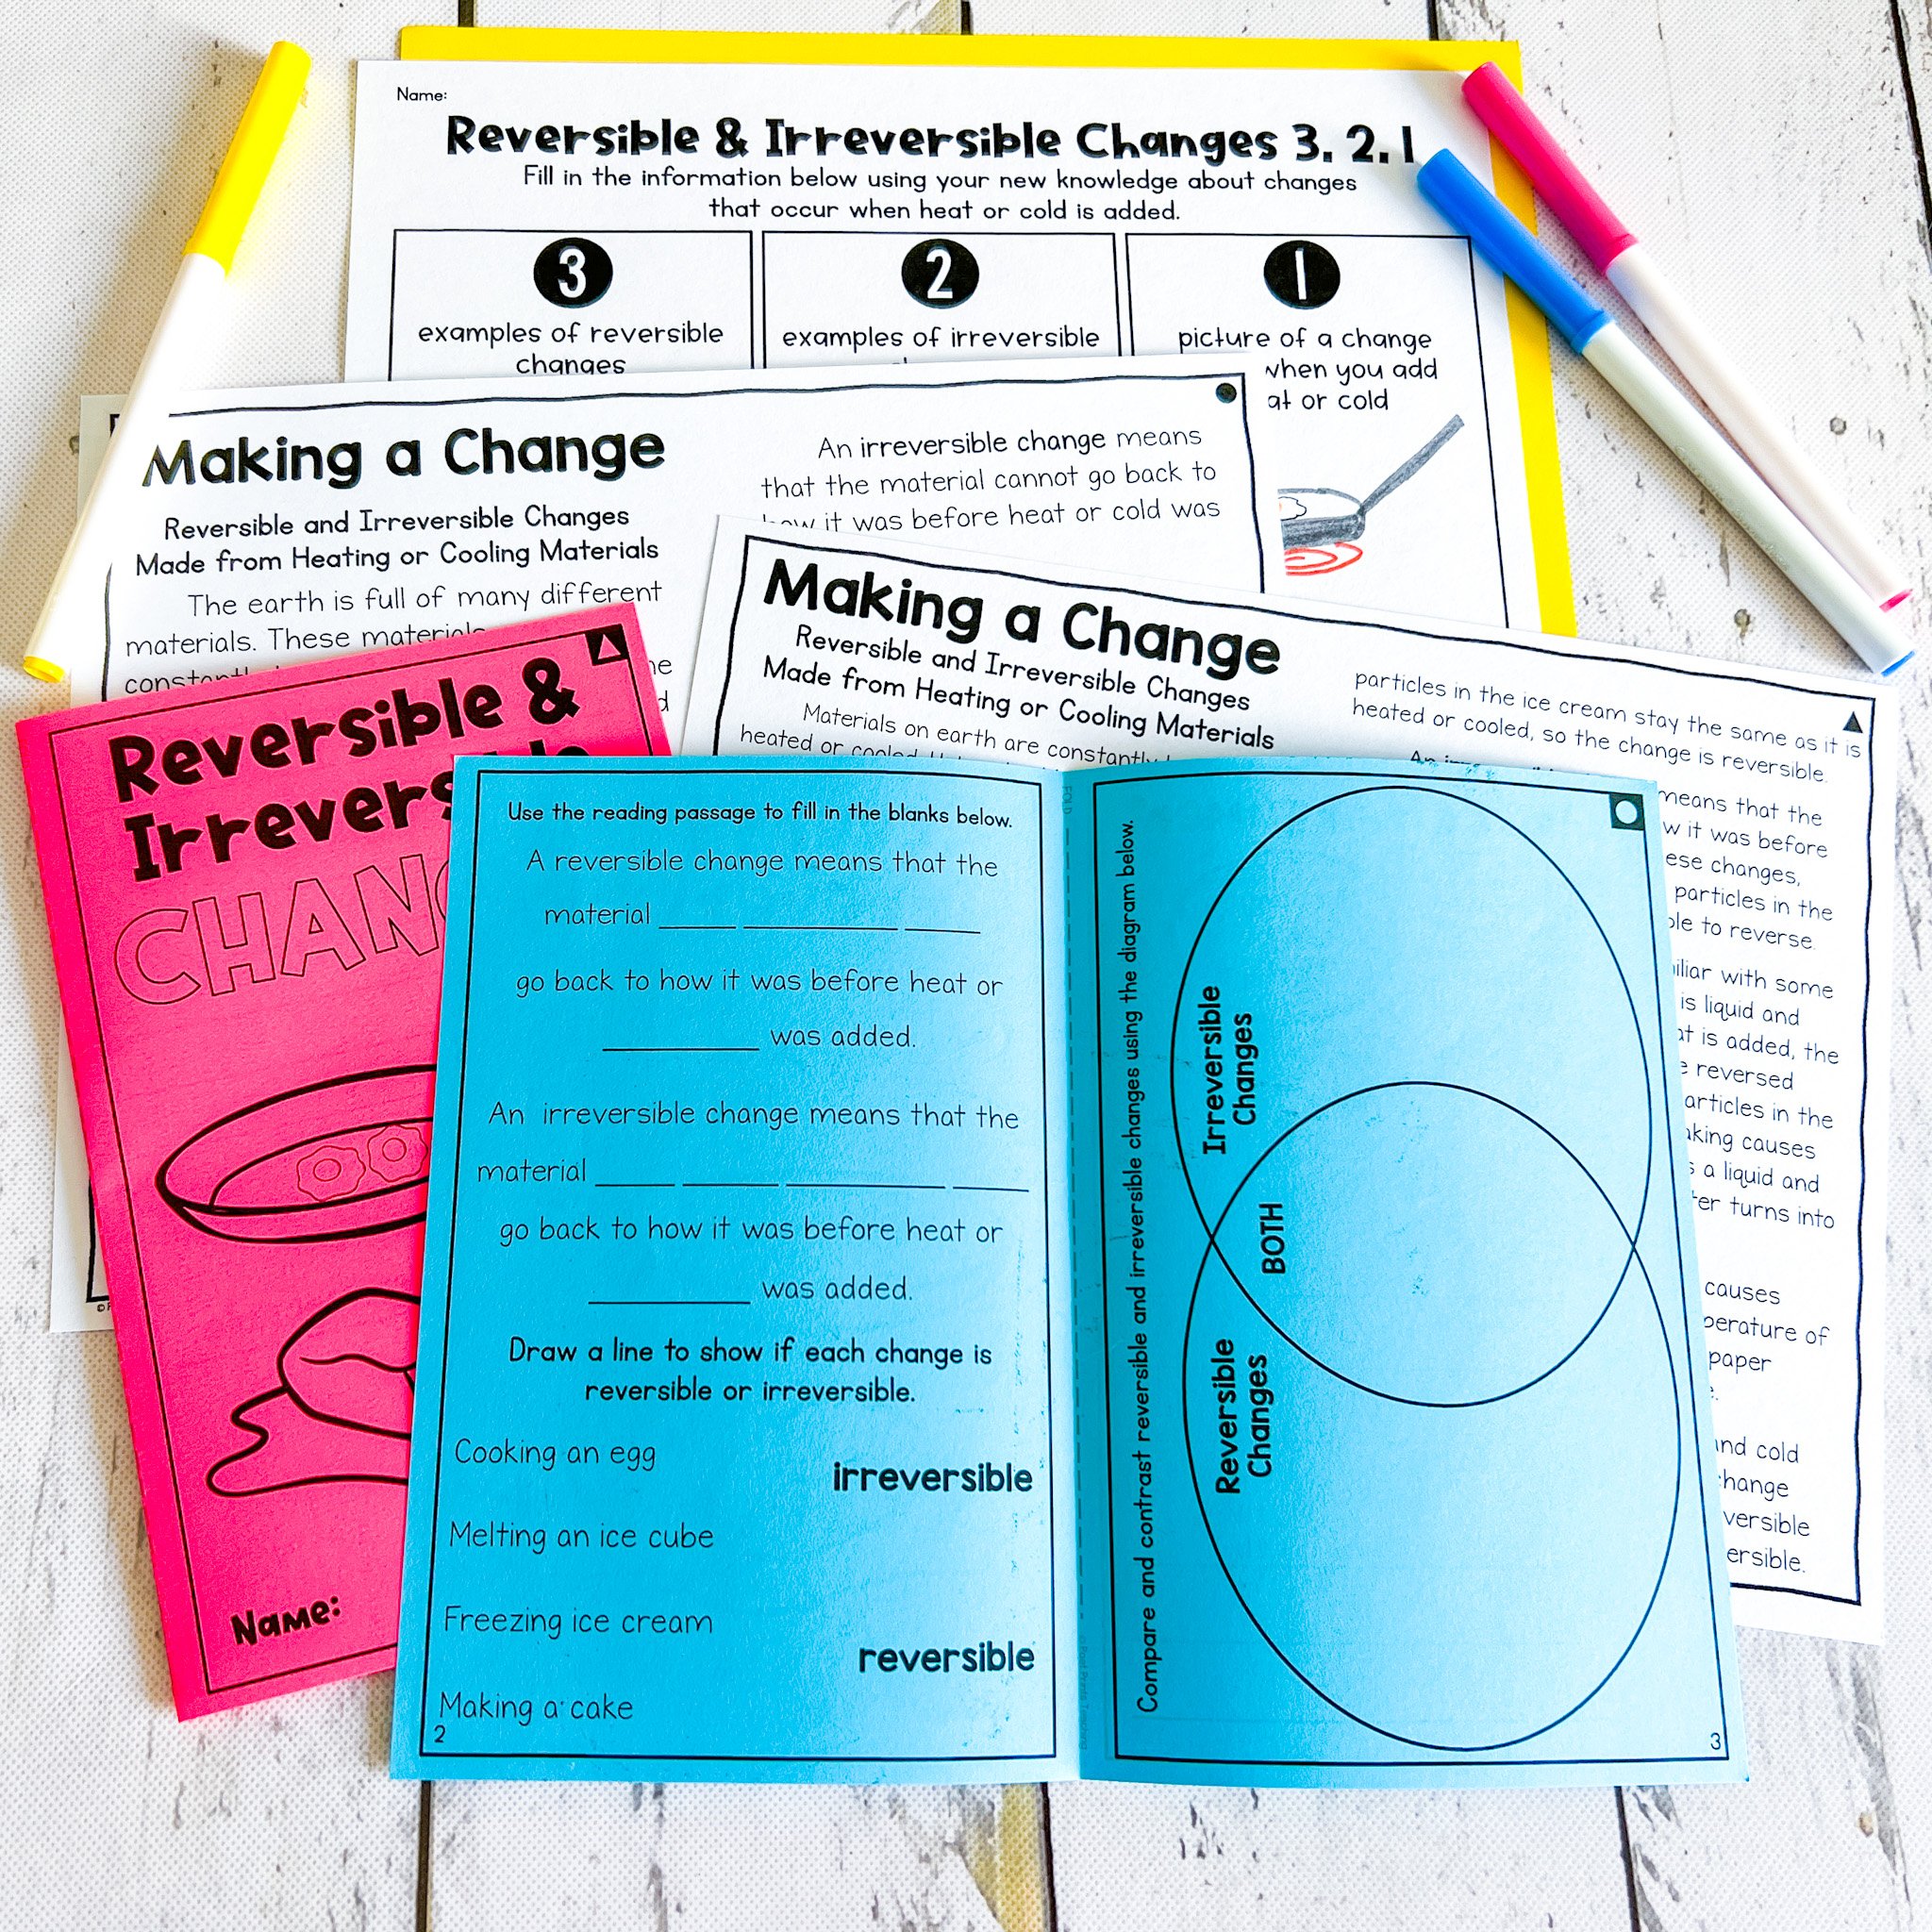
Some curriculums and school districts don’t use the terminology ‘chemical change’ and physical change’ - they go a little simpler with ‘reversible and irreversible changes’. In the NGSS for 2nd grade this is as deep as it goes. This set of nonfiction reading was designed to work with curriculums that use the ‘reversible and irreversible’ change vocabulary - but it’s a great starting point for any science lesson on this topic!
Begin with Teacher-Led Lessons to Build a Solid Foundation
Is the change physical or chemical? A Science anchor chart.
We start our physical and chemical changes unit by front-loading information that will help them along the way. Together, we define the terms "chemical change" and "physical change" on an anchor chart (they complete their own mini-version in their science notebooks too!). Then, we work in pairs or small groups to talk about potential changes, and why they might be chemical or physical. It's a simple activity, but it helps to bring focus back to the anchor chart as they think about the questions we posed: Is something new being created? Can this be reversed? What can we observe?
Use science stations to give a real-life experience
My BEST way to help students to really discern the difference between a chemical and physical change is to try it out in as many experiments as possible. I do this using stations. Using science stations gives my little scientists a chance to use the scientific method (that we learned about here!) to test what they know about changes and decide if their experiment resulted in a physical or chemical change. I set up six different stations in the class, and we rotate through them. There are a few different ways you can do science stations in an early elementary classroom.
Set up six identical stations and have all students complete the same station at the same time. This one works best if your class is a little less mature and you feel they will need a lot of guidance to move through the stations. Then complete the stations over a number of different days.
Set up only one or two stations, with multiple stations of each. (i.e. Set up three ‘A’ stations, and three ‘B’ stations, and divide your students into 6 groups). This also reduces the number of different Science experiments you have to manage and set up at one time. The next day, set up two different sets of stations.
Set up 6 different stations at once. For students who are comfortable working independently in small groups, this one is my personal favorite. If we are completing this unit in the 2nd half of the year, I tend to lean towards this option. We will set up 6 different science stations, and put one group at each station. I find this option to be difficult at the beginning when small group skills are still being developed.
Physical & Chemical Change Science Lessons
It’s easy to teach about physical and chemical changes with this set of scripted lesson plans! Nonfiction reading, 6 science stations, lessons, and vocabulary are all included!
Print and teach. It’s that easy.


