Posts tagged front
5 Things Missing From Your Sub Plans

This year, my teaching career looks very different from the past few.  After university, I was super lucky to land a third-grade teaching contract, and I stayed there until this past June.  After moving to a new city over the summer,  I am trying something different.  While we get settled somewhere into our new house and community,  I am taking the year to be a substitute teacher in our local public district (or, as we call it up here in BC, a TTOC, Teacher Teaching On Call). 

Subplanblog.jpg

It's been fun to pop into many different grade levels for the day and see how different teachers and schools choose to run their classrooms.  Most often, teachers leave me wonderful day plans with exactly what I need to teach each day.  (However, I have been very thankful for emergency plans on days that there has been nothing left!)  

In looking through many, many different 'sub plans' I've noticed that most are missing a few key pieces of information that would make my day, as a substitute teacher, so much easier.  Here are the things I wish all sub plans would include:

Your Usual Attention-Getter

How do you usually get the attention of the students in your room? Are you a clapper?  Do you do a call-and-answer?  Do you ring a bell?  Does someone turn the lights off?  As a sub, it can be almost impossible to establish a new attention-grabbing routine in a day or two, and kids respond best to what they are familiar with.  When a teacher leaves this key piece of information in his/her plans, it helps to set me up for success! 

Extra Class Lists

So often, substitute teachers are only given one class list for attendance, and then it is required to go back to the office first thing in the morning.  The rest of the day, I am without a complete class list.  I love when the teacher has left a few easy-to-find copies of the class list somewhere readily accessible.  

Important Routines

I have found that students thrive on routines, so when a substitute teacher arrives, they can be very thrown off by familiar routines that are not 'done right'.  If you have an important routine in your classroom - morning meeting, end-of-day dismissal, birthday songs, line up, how centers are chosen, etc.  write down the procedure to help different substitute teachers maintain the routines while you are away.  

Off Limits Items

Regardless of how 'on' I am as a teacher, there will always be one or two students who try to get away with things that the classroom teacher would not normally allow.  If there are things in your classroom that the students can't use, touch, or do - jot them down in your sub notes.  

Student Notes

As a classroom teacher, you have days (and weeks, and months) to try and 'figure out' some of the tougher students.  Substitute teachers have only minutes.  If you have a student with special needs, or a student who may need some behavior help, write down some of the strategies that have been successful.  As a sub, we want to help your students be successful, but the best way to do this is to partner alongside the work that you are already doing daily in the classroom.  

Have I missed anything?  Is there anything that you include in your sub plans that is a lifesaver for your students?  Let me know in the comments below!

- Rachel

PoetPrintsSubPlans.jpg
Inferencing Activity: Crime Scene Classroom

I know I’ve said it before, but I love hands-on events in a classroom. I love creating learning moments that students will talk about for months (or years) to come.  Last year, while learning how to make an inference in our reading curriculum my teaching partner and I decided to turn our classroom into an interactive crime scene to really dial up the excitement.  We had such a fun day and the kids were buzzing about this inferencing activity it until they went home for summer break.

crimesceneclasspoetprints.jpg

We decided to set the classroom up as a crime scene to help explore how making inferences is a lot like being a ‘detective’ when you read.  When you read, you must use observations to draw a conclusion and read-between-the-lines of a story.   At a crime scene, detectives have to use clues to figure out what happened, there is no obvious sign explaining everything. 

Don’t forget to teach inferencing explicitly

Before we dove into the crime scenes themselves, both third-grade classrooms set the stage with a few explicit inferencing lessons. These lessons were KEY to make sure that students understood WHAT an inference is and HOW to make one. We used physical observations (of clothing, of each other, of pictures) and read wordless picture books to help students build a solid foundation and understand how to make an inference on their own. You can grab one of these (scripted) lessons below and try it out for yourself!

But, undoubtedly, the real highlight of our inferencing unit was our Crime Scene Classroom.  Here are my top 4 tips for planning your own Crime Scene Day. 

Tip 1:  Make a list, check it twice

Be prepared.  However you choose to set up the scenes in your classroom, have everything ready to go ahead of time.  I would suggest preparing materials for each scene in a large Ziplock bag or ice-cream pail so that it is quick and easy to set up.  If possible, choose Crime Scene scenarios that require very few additional supplies.  Try brainstorming ‘crimes’ that can be committed with things you already have in your classroom.  Are there any rules that you have in your classroom?  What if the criminal broke one or two of them?  I have also planned out 4 easy-to-assemble crime scenes in this packet.    Store your supplies away so that they can be quickly accessed during a prep or recess break.  I've laid out the supplies that I used in a convenient checklist in my Crime Scene Classroom packet

Organization is key!  The Crime Scene Class pack has detailed set-up instructions to make planning/set up so much easier. 

Organization is key!  The Crime Scene Class pack has detailed set-up instructions to make planning/set up so much easier. 

Tip 2:  Set up the scene in secret

I set up the crime scene during my prep time and made sure that none of my students knew about the activity before the walked through the door to begin solving crimes.  The surprise on their faces when they came into our classroom was so worth it!

Setting up the class while students were at recess allowed them to be really surprised when they walked in! Do we look sneaky?

Setting up the class while students were at recess allowed them to be really surprised when they walked in! Do we look sneaky?

Tip 3:  Set the stage for learning

Instead of handing students a workbook and telling them to go solve each crime, I would suggest getting into character and really setting the scene.  This helps students to get excited about the event.

  “Grade Three! Something terrible has happened in our classroom.  Someone or many people have broken into our room and committed crimes.  The police need your help to solve them.  Will you be Junior Detectives for the day and help me to figure out what happened to our beloved classroom?”   

The more engaged you are, the more engaged they will be in return.

Tip 4:  Start the activity together

After I invited students to become Jr. Detectives for the day, we all entered the Crime Scene Classroom together, as one group.  Then, we proceeded to the first scene together.  Here, made observations and inferences as a group so that all students understood how to participate in the activity. By modeling this, students had a good understanding of how to visit each crime scene and make observations without rushing.  (Well, most of them at least!)

PoetPrintsCrimeClassroom2.JPG

Tip 5:  Be prepared for early finishers

While most of my students moved carefully through each crime scene, one or two finished with lightning-speed.  And the worst part… their work was well done!  I quickly came up with a few tie-in activities to extend their learning. 

  • Write a timeline of the crime

  • Draw a map of how each crime was committed

  • Write a first-person story about one of the crimes

We had so much fun completing our Crime Scene Day, and it was a great way to help students understand what it means to make an inference. 

The plans for the complete Crime Scene Class (along with 2 scripted inferencing lessons, printable decor, planning pages and student workbooks) can be found here

Have you tried a day like this?  I’d love to hear your best tip in the comments below.


CrimeBlog.jpg
Love Languages in the Classroom

Have you ever heard of Love Languages? I use them all of the time in my marriage and I try to show care and kindness to my friends in ways that speak to their love languages as well.  But have you ever thought about using them in the classroom to help your students interact with each other and show care in a more meaningful way? 

If you have never heard of love languages, the basic premise is that there are five basic ways that we all receive and give love: gifts, quality time, acts of service, physical touch, and words of affirmation. Through the love languages quiz, you can find out the primary and secondary way that you like to receive love. 

I wanted to try this out in my classroom because I had a group of kids who both loved to give physical touch and did not like to receive it.  It was a really weird contrast.  They were a very ‘touchy’ group without any sense that no one else wanted to be hugged/touched in return.  I thought that exploring Love Languages might give them other tools to show their care and concern in a way that could be better received. 

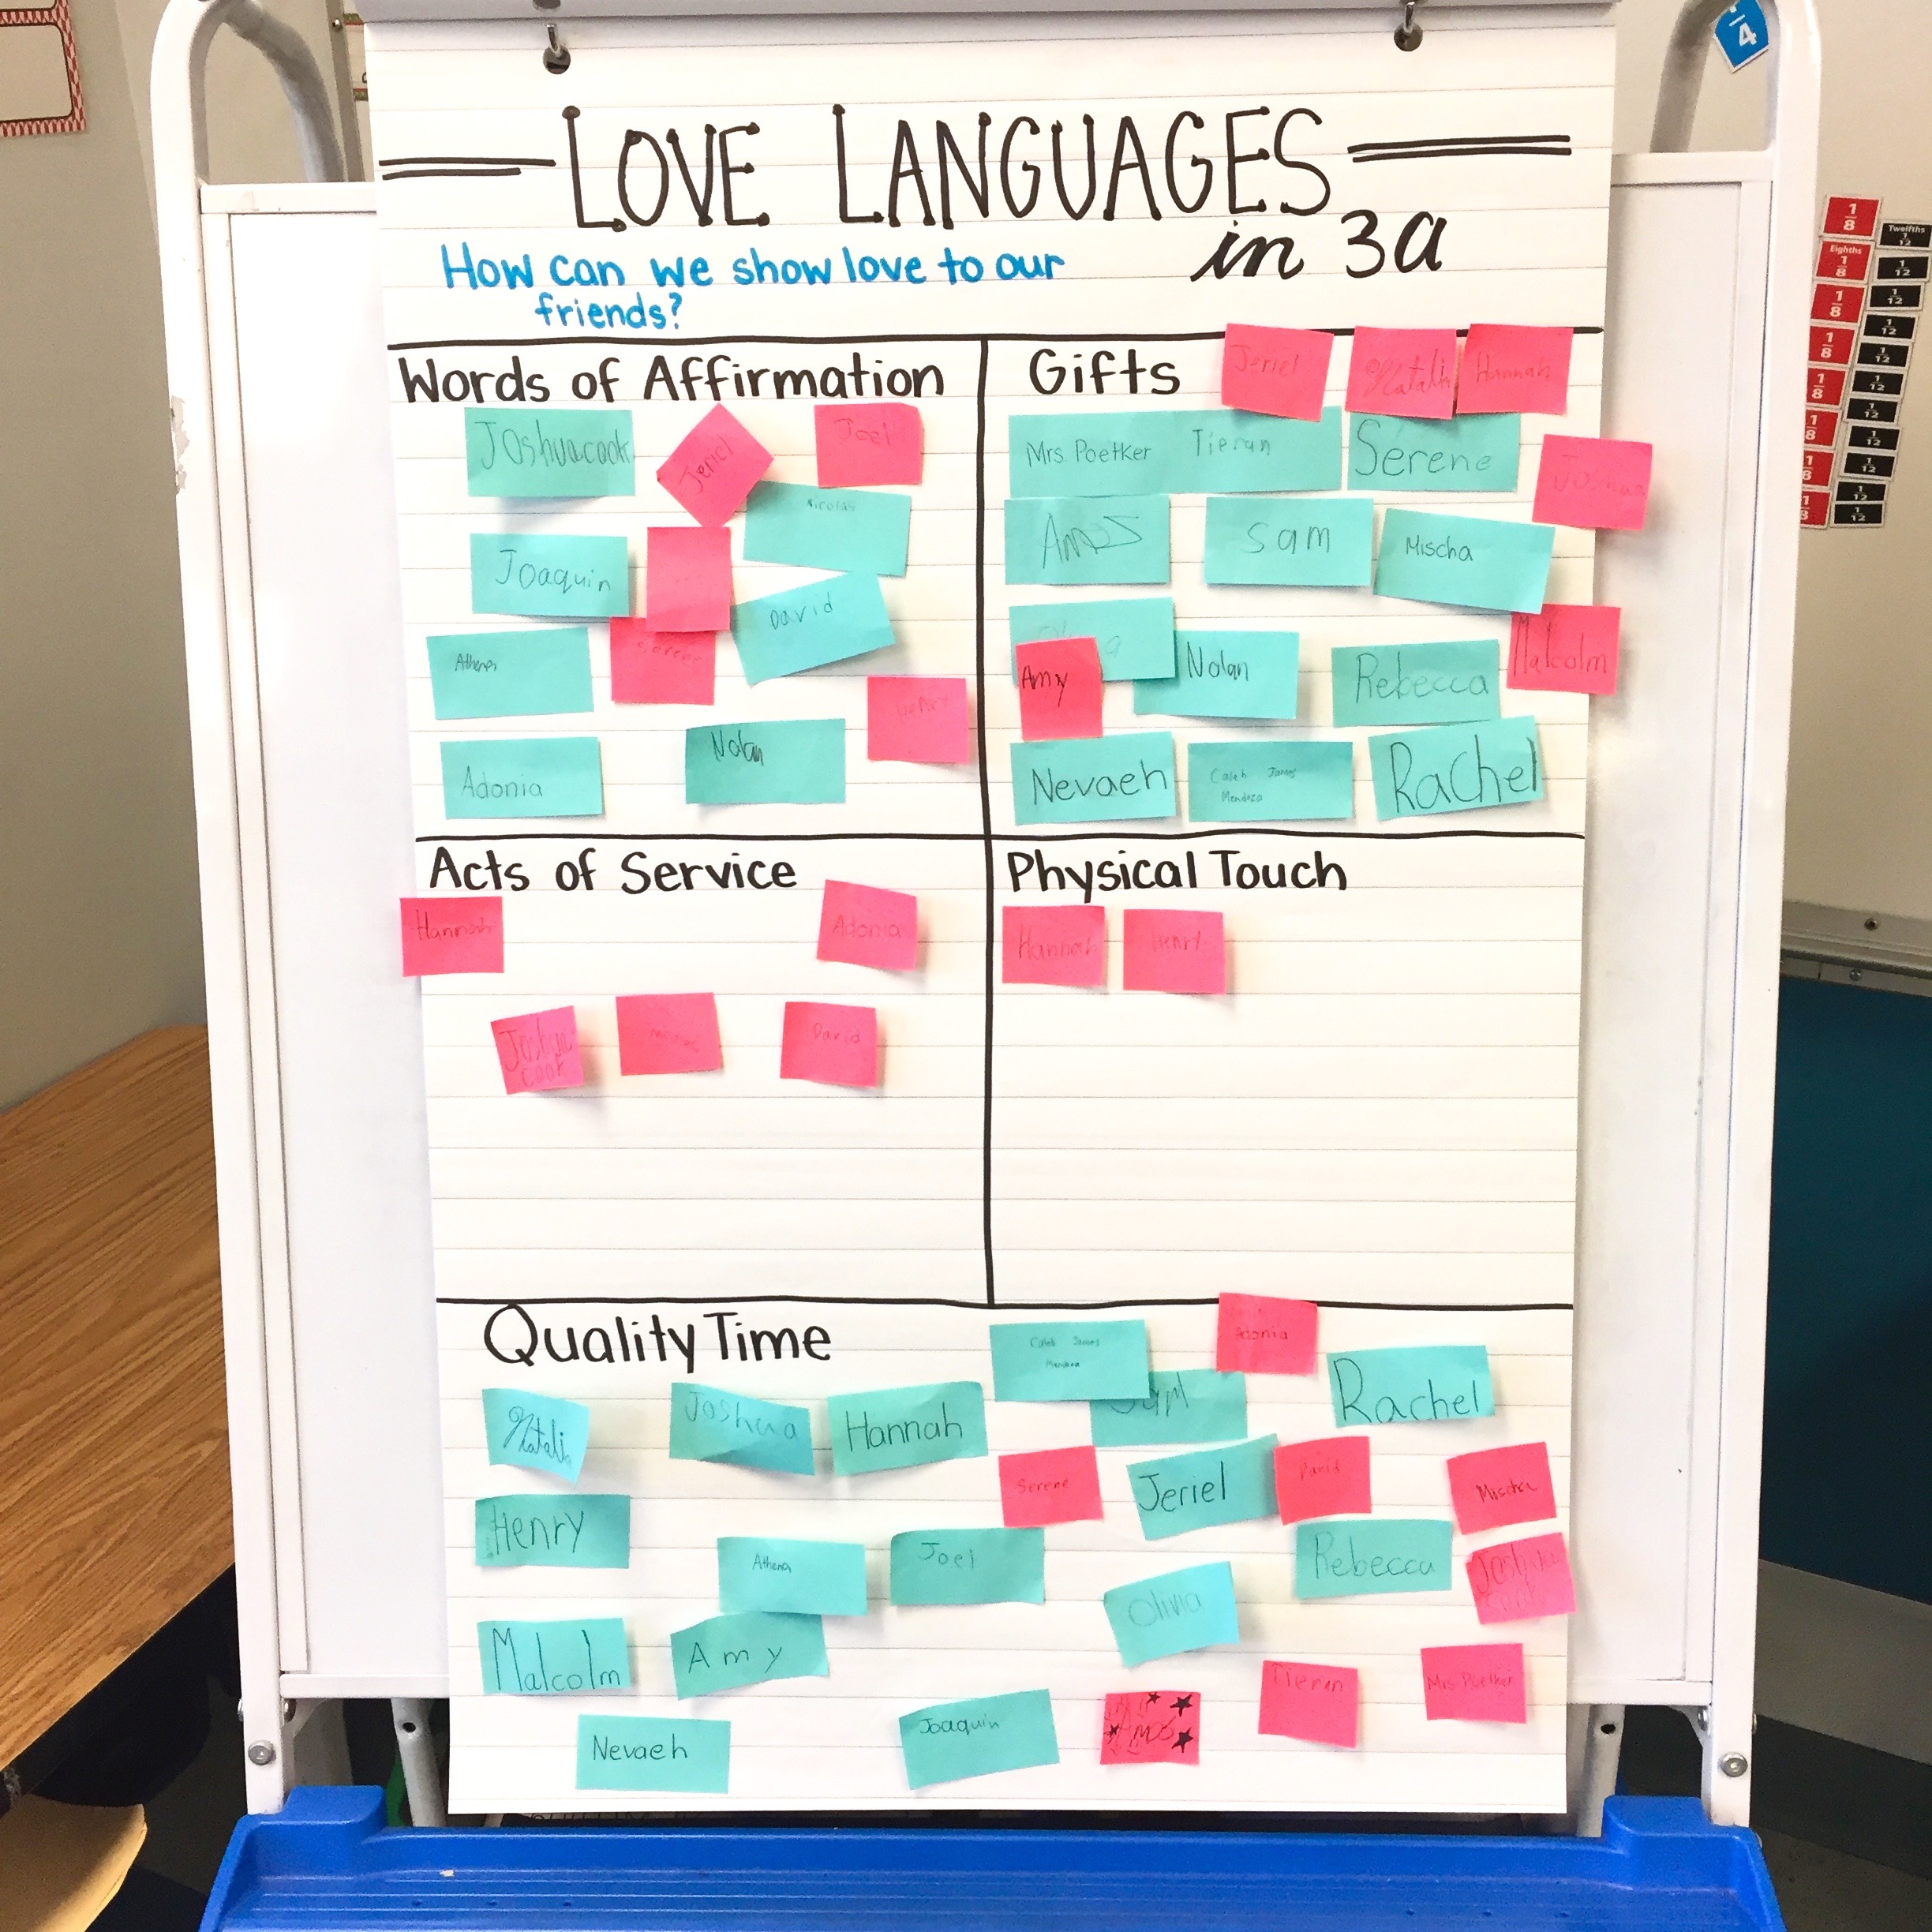
So we did the quiz individually, as a teacher-led activity.  You can find a paper-based version of the quiz in the book “5 Love Languages of Children” or, if you have access to computers or tablets, there is a free version of the quiz available online from the official Love Languages book website.  Using the paper-based version, I walked my students through each question and we tallied up their primary and secondary love languages. Each student was given a post-it note and they charted their top two Love Languages.  

It was so interesting to see how my students like to receive love – it was definitely different than I would have expected.

It was so interesting to see how my students like to receive love – it was definitely different than I would have expected.

Then we met on the carpet to talk about it.  Of course, we all loved parts of all of the Love Languages, but after talking, most agreed that these were their favorite ways to receive love. Together, we brainstormed ways that we could show love to our friends that would match up with their Love Languages.  

  • Play a board game with someone who is quality time

  • Give a high-five to someone who is physical touch

  • Write a note to someone who is words of affirmation

  • Tidy a friend’s cubby if they are acts of service

  • Make a craft for someone who is gifts

It was so fun to brainstorm ways to show love to our friends in a way that they like to receive it.  We hung up our Love Languages chart in a clear spot in the classroom for the next couple of months so that the students could easily see it. As a teacher, I enjoyed watching my kids head back to that chart frequently to find a name on it to see a way they could ‘bless’ someone else.  It really helped to build character and empathy in my students and encouraged them to put the needs of their peers far above their own needs.

Have you ever used Love Languages in your classroom?  I’m already starting to plan ways to go ‘bigger’ with this in the future. I’d love to hear your ideas in the comments below!
- Rachel

Poetprints.ca Love Languages in the Classroom
Genius Hour in Elementary

A handful of years ago I did my very first Genius Hour in my third-grade classroom.  For those who have never heard of Genius Hour, it is a student-directed hour of independent projects based on their own curiosities. time  It gives students a chance to explore their passions and interests and allows them to develop a lifelong love for learning. Genius Hour also helps to hone research and presentation skills in a way that is 'outside of the box' and creative.

Genius Hour in lower elementary, creating life long learners.

Genius Hour in lower elementary, creating life long learners.

Most of the blogs I had read ahead of time seemed to use Genius Hour in the upper elementary, middle, and high school grades.  Looking back, I wonder if I was crazy to try it with eight-year-olds. Maybe I was. At times, it was insanely chaotic.  I definitely 'bit off more than I could chew' and it was a lot more work than I anticipated. But it was such an overwhelming success with my students that I made it a permanent part of my third-grade curriculum and learned from the parts that I was ill-prepared for the first time around.

Most of the chaos and hard work came from being under-prepared.  I hadn't fully thought through what it would take to prepare seven, eight, and nine-year-olds for independent work.  

Yes,  they are capable of it... but it takes scaffolding and intentional instruction to give them the tools to succeed!  

So, learning from my mistakes, here are four tips for a smoother, well-planned Genius Hour in Elementary!

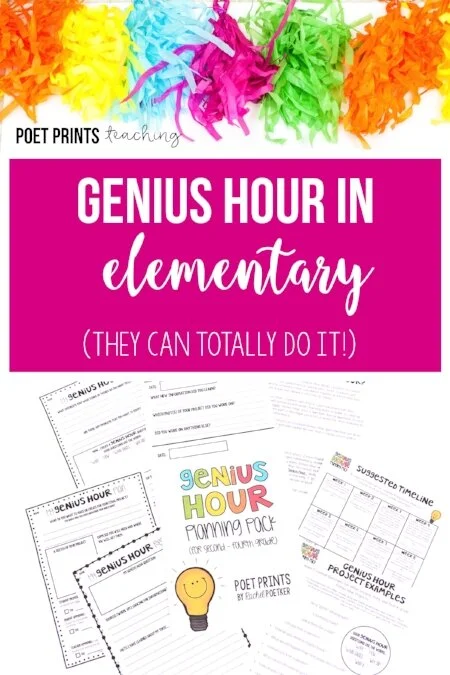
genius-hour-planning-pack

A complete plan is here!

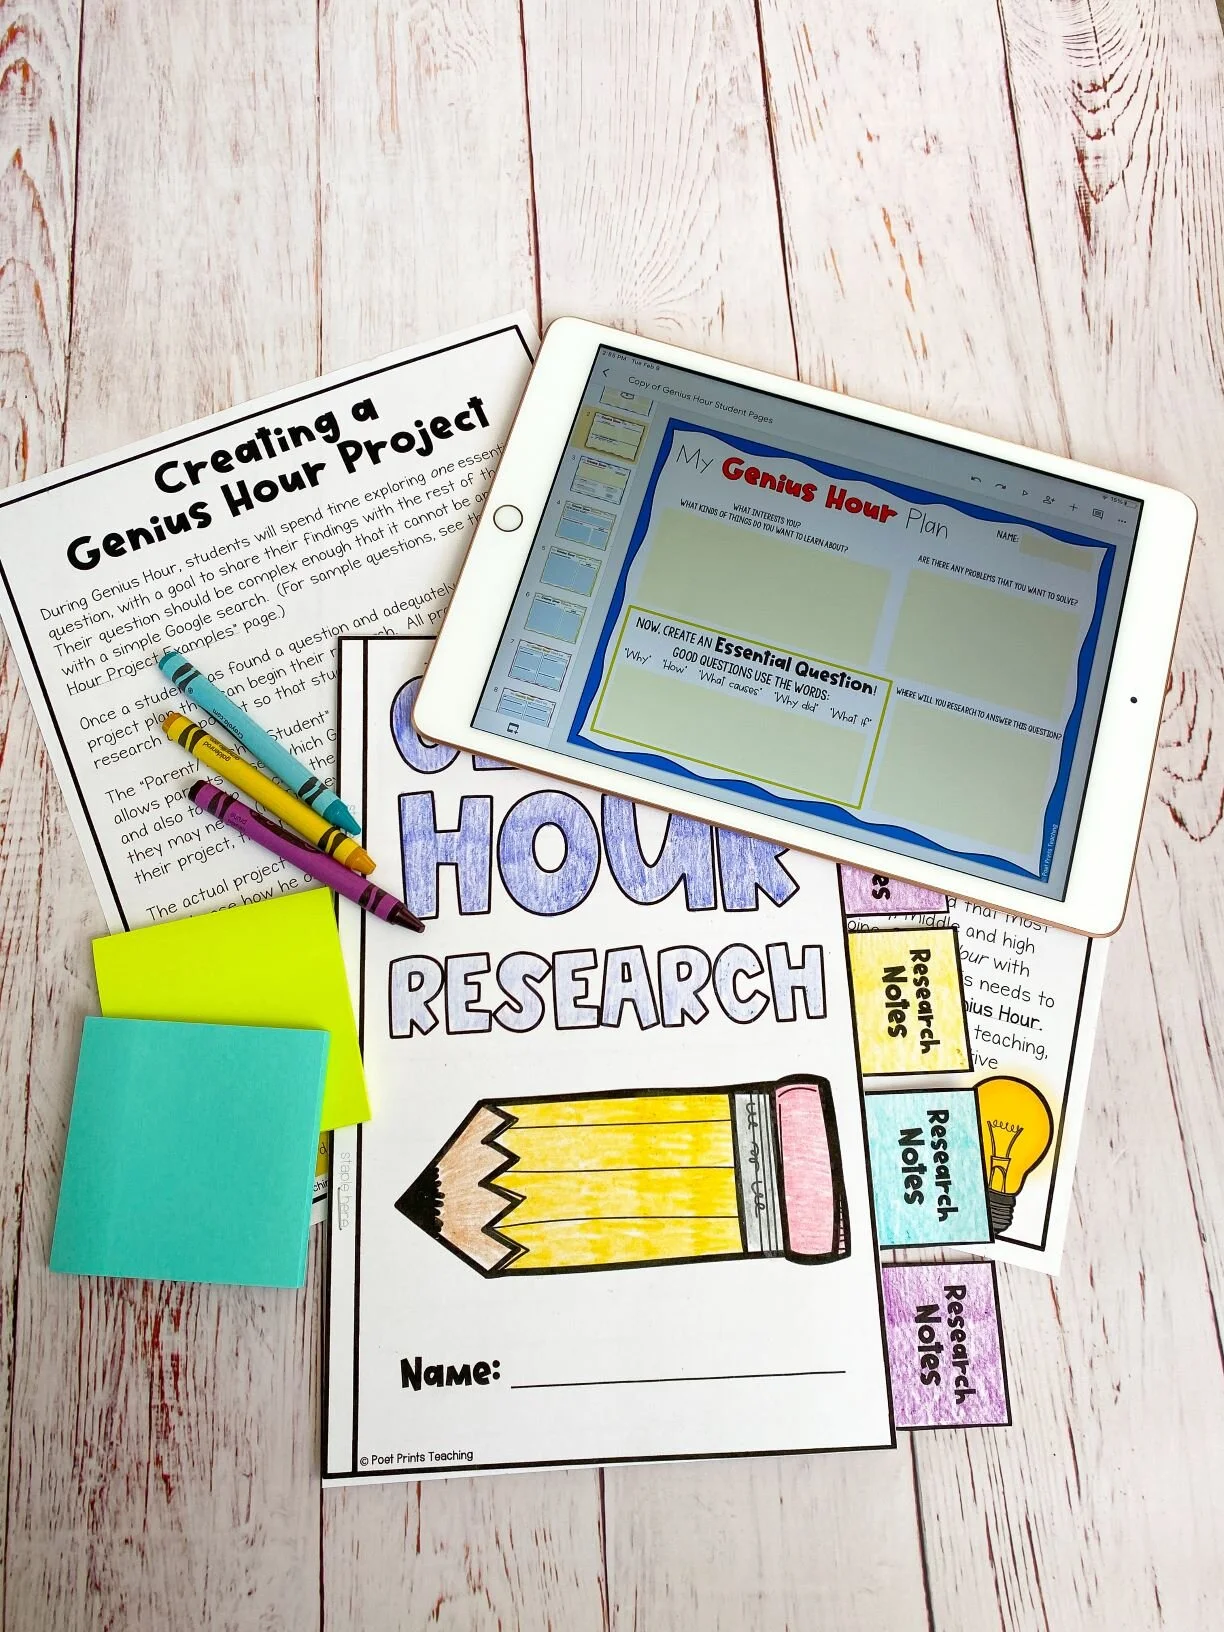
I’ve taken everything I’ve learned from years of Genius Hour and created a complete digital and printable guide to starting up this engaging project in your second, third, or fourth grade classroom.

It has teaching guides, a week-by-week timeline, a sample day plan, project ideas, parent letters, student planning pages, rubrics, and more!

Model Everything

One of the most valuable things I learned in leading Genius Hour in third grade was to model all pieces of the process.  Instead of telling my students to “come up with a topic”, I participated in Genius Hour alongside them and verbalized my thinking process out loud.

"What kinds of things am I interested in, I'll write them down!  The ocean, hockey, running, cooking.  I love to build stuff.  When I was at the ocean I saw a family flying the most amazing kites, and they were doing loops.  It was so interesting."

I didn't just say, "List the things you are interested in," I demonstrated how I would come up with some topics. In future lessons, I explicitly taught how to turn my ideas into an essential question.

"I love kites and the ocean," became my Genius Hour question "How do you build a kite?"

Genius Hour is driven by an essential question that students work each week to solve through research and hands-on exploration.  (Each question cannot be solved by a simple Google search).

Eventually, I even gave a complete Genius Hour presentation.  This way, my students were not caught off-guard by what I expected from a presentation.  I built a simple kite in front of my students and showed what I had learned on a step-by-step poster.

This week-by-week timeline was my saving grace for staying on task for Genius Hour.  It breaks down specific skills that students need to learn each week, and where their projects should be at any given time.

This week-by-week timeline was my saving grace for staying on task for Genius Hour. It breaks down specific skills that students need to learn each week, and where their projects should be at any given time.

Narrow Down The Presentation Options

I have found that in older grades, students are so excited by the idea that they can choose any way that they want to show what they have learned.  The world is their oyster!

However, when I tried this in Third Grade, most of my class looked at me like a group of deer caught in headlights.  They were absolutely overwhelmed by the number of possibilities.

Should I do a poster?

What about a movie too?

Is a poster better than a movie?

I don't want to do a movie.

What if I code a video game?  I don't know what that means. But maybe my brother does.

Do I have to do all of the options?

I was ready to pull my hair out.  So we had a class meeting.

In our classroom, we decided that everyone would have a small poster (I bought the poster board) that showed what they learned, and then they could also have a small model or project if they wanted.

I would suggest narrowing down the options for how Genius Hour can be presented in lower elementary.  As always, allow some students to go 'above and beyond' as they are ready and feel prepared, but don't make this the standard for all students.

Use Simple Ways to Keep Students Accountable

Genius Hour is only one hour long.

It seems like a lot but it will fly by.  To keep students accountable I used a very simple Work Log where students simply answered the question "What did you do today?"  At times, all they would write down was:

I colored my poster.  And that was enough!  Don't waste valuable time filling in a work log when you could be working on Genius Hour.

Check with Parents

This was one of the things that I learned in retrospect.  I allowed students to choose any project of their choice without checking-in at home that each project was o.k. with their families.

It didn't go well for us.

Students assumed that they had access to a computer when they didn't.  Or access to a poster board when they didn't.  Or even a ride to the public library when they didn't.

This year, when my students create their Genius Hour plan, they will also need to have a parent/guardian sign off to make sure that their plan is reasonable.  I don't want to put any undue stress on parents or families and hope that each project is one that my students can do (mostly) independently.

Future years’ project plans had a parent approval and suggestion section!  Much needed after the first year!

Genius Hour planning pages, complete with space for parent or guardian approval!

Genius Hour planning pages, complete with space for parent or guardian approval!

looking for more about genius hour?

Keep on reading and learning about planning Genius Hour in 2nd, 3rd, and 4th grades with the rest of the Genius Hour blog series!

Genius Hour is a hands-on, inquiry-based learning experience in lower elementary.  Your students will be SO engaged.

Genius Hour is a hands-on, inquiry-based learning experience in lower elementary. Your students will be SO engaged.

Inquiry Based Science: Plants

I am a big fan of hands-on learning.  There is SO much research suggesting that when students discover things for themselves, rather than have all of the information ‘deposited’ lecture-style, they make genuine lifelong connections. There is no better place to conduct an investigation than outdoors, take a peek at how we used inquiry-based learning to explore the life cycles of plants in our third-grade classroom.

This spring, we are learning about plants through a guided-inquiry unit.  It is guided because I came up with the inquiry questions (true inquiry allows students to come up with their own questions). 

We began by learning some vocabulary and key plant terms.  Then, I posed the question: “How do plants grow and change?”  I put the question on a blank bulletin board, and left room for us to answer as we moved through the unit.

Guided inquiry cards  (Pictured above - included in the whole packet)

Instead of handing them a worksheet with the answers, we began to plant! We planted beans, lettuce, scallions, marigolds, and pansies. Each student cared for an individual bean plant, and tracked its growth, changes, and how they cared for it.  In groups, they took turns being ‘gardeners’ for our group outdoor garden. 

There were so many great AH-HA moments as we used our hands-on garden as the focal point for our learning, and I think we learned more from our mistakes than successes!  My students knew the concept of photosynthesis, but only truly understood the importance of green leaves when their plants were munched by local deer!

We finally figured out why plants need sunlight after our blinds were accidentally closed over the weekend and our plants sat in the dark for 72 hours. 

We tracked the changes on our plants, and marveled at how resilient our bean plants were! 

We could not believe at how our teeny-tiny seeds turned into edible pieces of lettuce!

I cannot tell you how many parents have sent me e-mails or stopped in to let me know that they now have small gardens in their houses/apartments that are being tended to by my third graders.  It makes me smile to think that what we are learning in the classroom is already turning into out-of-school continued education! 

I’ve gathered together my whole unit into a ready-to-go packet that you can pick up on Teachers Pay Teachers.   It has everything you need: vocabulary, life cycle worksheets, inquiry questions, student notebooks, and two experiments. 

Check it out here:  ALL ABOUT PLANTS, inquiry-based science

If you try it out, let me know what you think!  Have your kiddos discovered their “green thumb”? 

- Rachel

PoetPrintsInquiryScience.jpg
We are Bucket Fillers! Lessons and Ideas for Third Grade

Students in my third grade class are practicing being bucket fillers!  The concept of being a bucket filer comes from Carol McCloud’s Book 'Have You Filled A Bucket Today?' and 'How Full Is Your Bucket' (For Kids) by Tom Rath. 

Both books are focused around the idea that everyone carries around an invisible bucket that, throughout the day, is being filled by the kind things that you do for others or that others do for you.  A bucket filler is someone who is showing positive character traits (kindness, compassion, care, respect, consideration for others), and is being a responsible citizen. When our buckets are full, we feel happy.   When our buckets are empty, we feel sad. 

For the next few weeks, we will be learning about different qualities that bucket fillers and bucket dippers exhibit.  We will be continuously reading and re-reading bucket filling books  so that students are able to really grasp the concept of bucket filling.  I can wait to have students start practicing being being bucket fillers in the classroom, and encouraging students to be bucket fillers at home! 

We used this bulletin board as a visual reminder of bucket filling actions.  Whenever I saw someone being a 'bucket filler' I added a star to the bucket.  When it was full we celebrated with a popcorn party! 

(Teachers: I have created an entire unit to kick start this kindness campaign that is available for download now.  The unit is designed to be done over 3 weeks, has 6 unique lessons, a teaching guide, bulletin board templates, and interactive games! See it here in my TpT store

For checking out my blog today, I have an awesome freebie for you.  One part of the Bucket Filling unit is a 'Bucket Filling, Bucket Dipping' sorting activity.  You can use it as a drama game in your class, as a sorting activity in small groups, or as independent work. I’ve also included a sorting mat so you can glue the statements down, and a coloring page to use for early finishers!

Bucket Filler Freebie for Blog Readers (Click!)

Let me know how you use the Bucket Fillers program in your class. I'd love to hear your ideas in the comments below!


BucketFillersPoetPrints.jpg